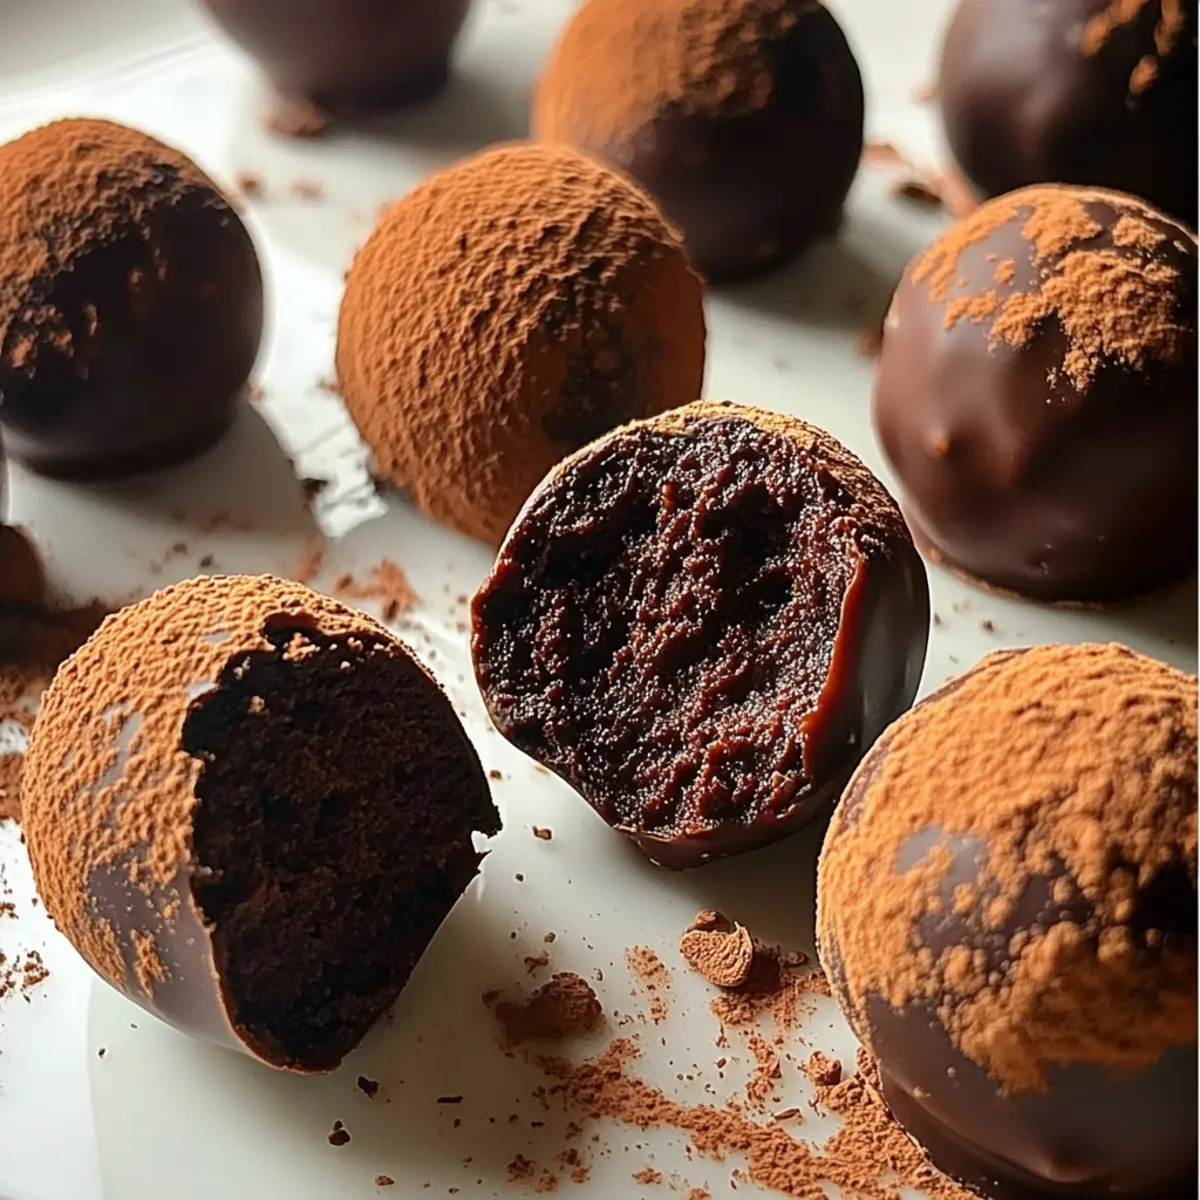
There’s an undeniable joy that comes from creating something indulgent in the kitchen, especially when it involves chocolate. Picture this: a velvety chocolate truffle melting in your mouth, the rich dark chocolate balanced by a whisper of cream and the hint of vanilla. This is not just any dessert—it’s a tiny, handcrafted piece of heaven that you can whip up in under 20 minutes (not including chilling time, of course!).
After a busy week of fast meals and takeout, I wanted to return to the simple pleasure of homemade treats that are both easy and impressive. That’s when I stumbled upon this delightful recipe for chocolate truffles, perfect for satisfying your sweet tooth or sharing with loved ones. Each bite feels like a special occasion, yet there’s nothing fussy about the preparation. With just four ingredients, you can create a batch that’s sure to impress! Ready to bring a little luxury to your home kitchen? Let’s dive into making these delightful chocolate truffles!
Why You'll Love This Chocolate Truffles
- These chocolate truffles are incredibly easy to make, allowing even novice chefs to whip up a delicious treat in no time.
- The rich and velvety flavors of dark chocolate combined with cream and vanilla create an indulgent experience that is hard to resist.
- Their versatility allows you to customize them with different coatings or fillings, making them perfect for any occasion or palate.
- With just four simple ingredients, you can craft a luxurious dessert that looks impressive and tastes divine, making it a true crowd-pleaser.
Chocolate Truffles Ingredients
• Dive into the world of irresistible indulgence!
For the Truffle Mixture
- Dark chocolate – 8 oz, chopped – opt for high-quality chocolate for the richest flavor.
- Heavy cream – 1/2 cup – this creates a smooth and luscious texture for your chocolate truffles.
- Vanilla extract – 1 tsp – enhances the chocolate flavor beautifully; feel free to use pure vanilla for extra depth.
For Dusting
- Cocoa powder – for dusting – gives your truffles a classic finish and adds a delightful chocolatey touch.
Enjoy creating these delightful chocolate truffles, and let each bite take you to chocolate paradise!
How to Make Chocolate Truffles
-
Heat the cream. Pour the heavy cream into a saucepan and place it over medium heat. Allow it to simmer gently, stirring occasionally, until bubbles form around the edges, about 3-4 minutes.
-
Add chocolate. Remove the saucepan from the heat and add the chopped dark chocolate to the hot cream. Let it sit for a minute to melt, then stir gently until the mixture is smooth and glossy.
-
Incorporate vanilla. Add the vanilla extract to the chocolate mixture, mixing well to combine. This aromatic addition will enhance the rich chocolate flavor, creating a heavenly base.
-
Chill the mixture. Transfer your chocolate mixture to a bowl and cover it with plastic wrap. Refrigerate for about 2 hours, or until the mixture is firm enough to scoop and mold.
-
Form truffles. Once chilled, use a small melon baller or your hands to scoop out portions of the chocolate mixture. Roll them into small balls about the size of a walnut, allowing the warmth of your hands to shape them gently.
-
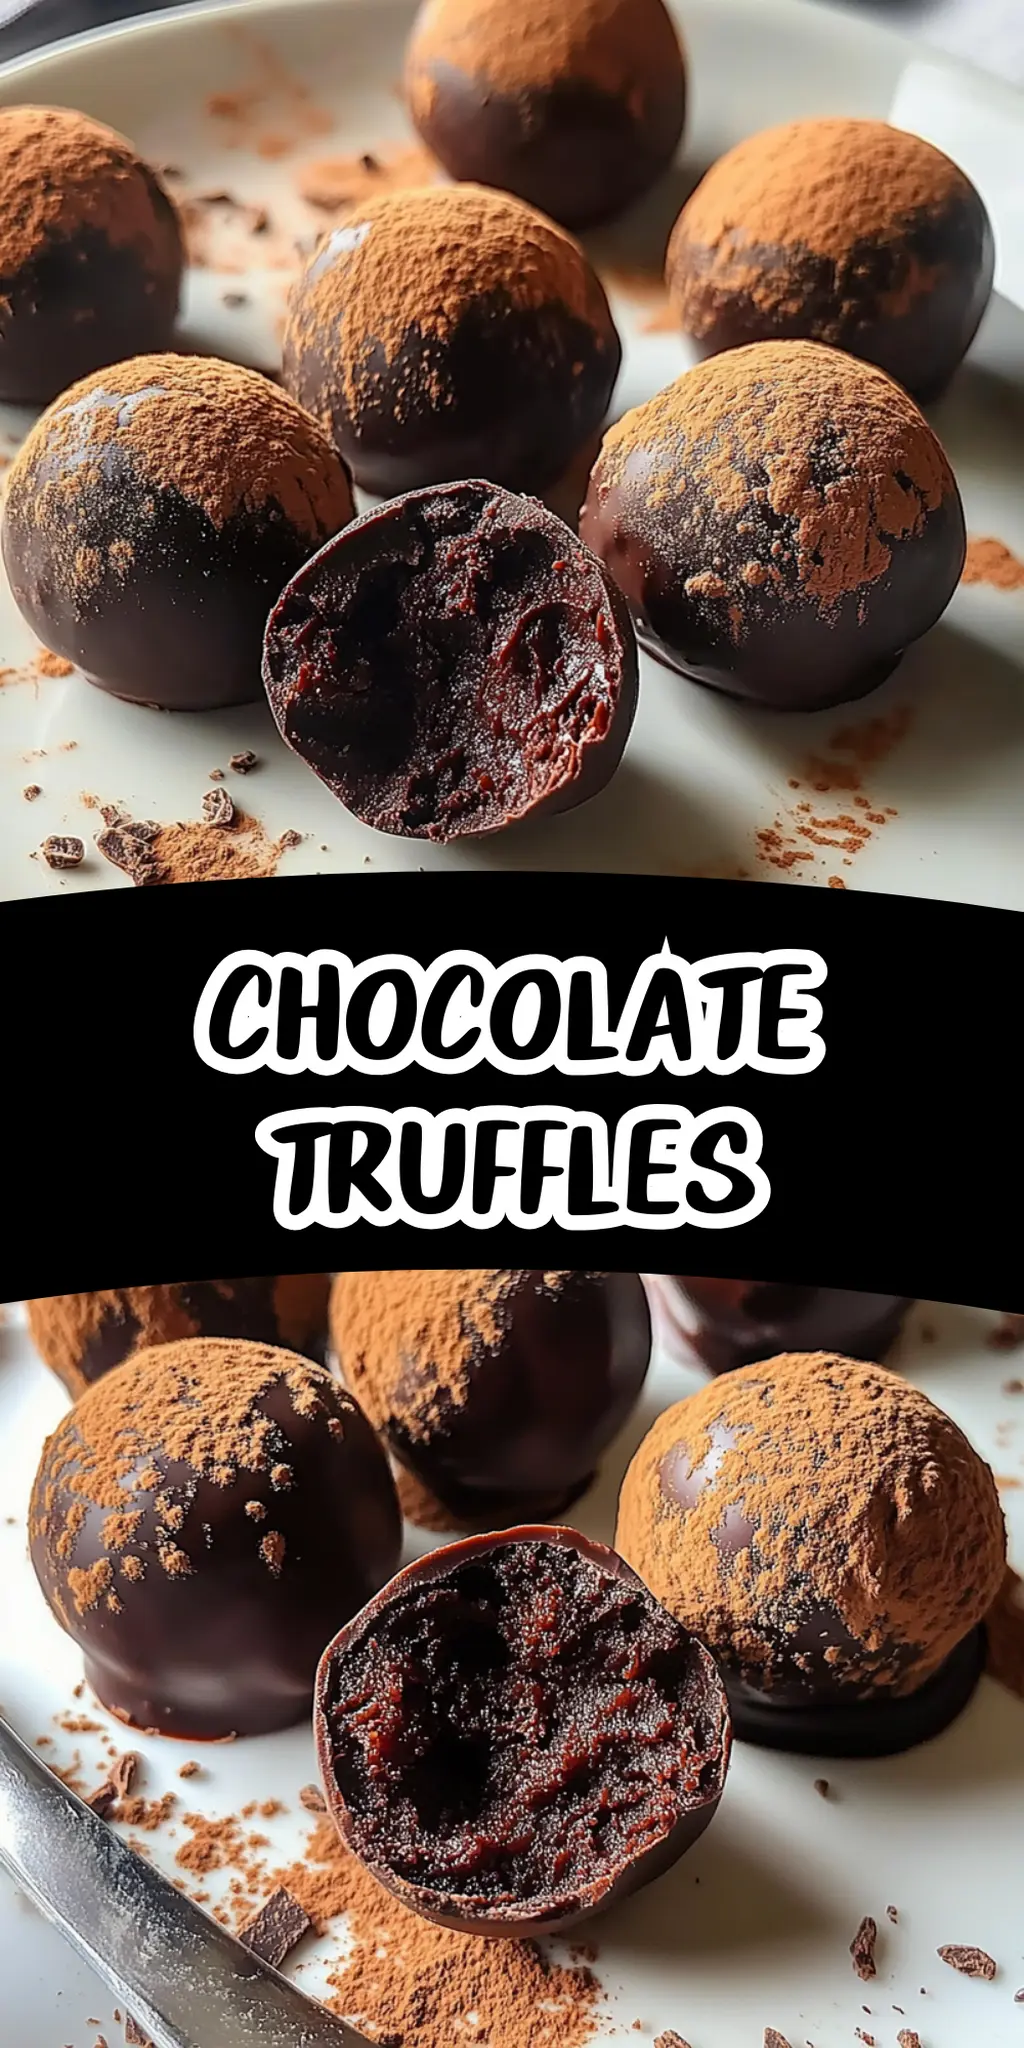
Dust with cocoa. Roll each truffle in cocoa powder until they are completely coated. This step not only adds flavor but also gives your truffles that classic, elegant finish.
-
Store and serve. Place the dusted truffles in an airtight container and store them in the fridge until ready to serve. Enjoy these delicacies chilled for that delightful melt-in-your-mouth experience!
Optional: Drizzle with melted chocolate for an extra touch of decadence.
Exact quantities are listed in the recipe card below.
How to Store and Freeze Chocolate Truffles
Fridge: Keep your chocolate truffles in an airtight container, and they will stay fresh for up to 1 week. This ensures they maintain their rich flavor and creamy texture.
Freezer: For longer storage, place chocolate truffles in a single layer on a parchment-lined baking sheet before freezing. Once solid, transfer them to an airtight container or freezer bag, and they will last for up to 3 months.
Reheating: If you prefer to enjoy them slightly softened, take the truffles out of the freezer and let them sit at room temperature for about 15 minutes before indulging.
Thawing: Avoid microwaving the truffles, as this can alter the texture. Instead, let them thaw in the fridge overnight for optimal flavor and consistency.
Chocolate Truffles Variations
Feel free to explore these fun twists to make your chocolate truffles even more delightful!
-
Nutty Delight: Incorporate chopped nuts like pistachios or hazelnuts into the truffle mixture for added crunch. This gives each bite a delightful surprise!
-
Citrus Zest: Add a teaspoon of orange or lemon zest to the chocolate mixture for a refreshing, zesty twist that brightens the rich chocolate flavor. It’s a perfect pairing!
-
Spicy Kick: Mix in a pinch of cayenne pepper or chili powder to the chocolate for a subtle heat that balances the sweetness beautifully. A bold move for adventurous palates!
-
Minty Fresh: Use peppermint extract instead of vanilla for a refreshing mint chocolate truffle. Roll them in crushed peppermint candy for a festive touch!
-
Coffee Infusion: Stir in a tablespoon of finely ground coffee or espresso to the chocolate mixture for a mocha-inspired truffle that coffee lovers will adore. It adds depth and richness!
-
Dairy-Free: Substitute heavy cream with coconut cream and dark chocolate with dairy-free chocolate to create a deliciously rich vegan treat. You won’t miss the dairy at all!
-
Flavorful Coatings: Instead of cocoa powder, try rolling your truffles in shredded coconut, crushed nuts, or colorful sprinkles for a fun and vibrant presentation. Each coating brings a unique texture!
-
Liquor Infusion: For adults, mix in a tablespoon of your favorite liqueur, like rum or Baileys, into the chocolate mixture for a boozy twist that’s perfect for special occasions. It’s a delightful indulgence!
Make Ahead Options
These Chocolate Truffles are perfect for busy home cooks looking to save time without sacrificing flavor! You can prepare the chocolate mixture up to 24 hours in advance by following the initial steps (heating cream, adding chocolate, and incorporating vanilla), and then chill it as directed. Once it’s firm, scoop and roll the truffles in cocoa powder, storing them in an airtight container in the fridge. This method ensures they stay just as delicious and melt-in-your-mouth perfect. When you’re ready to serve, simply pull them out of the fridge and enjoy—a sweet treat ready at a moment’s notice!
What to Serve with Chocolate Truffles?
Indulging in homemade chocolate truffles opens the door to a variety of delightful pairings that enhance your dessert experience.
-
Fresh Berries: The tartness of strawberries or raspberries contrasts beautifully with the richness of the truffles, providing a refreshing balance.
-
Espresso Coffee: Pairing your truffles with a shot of strong coffee creates a delightful contrast of flavors—perfect for coffee lovers. The deep notes of coffee elevate the chocolate experience to new heights.
-
Whipped Cream: Light and airy, fresh whipped cream adds a fluffy texture that complements the dense, rich chocolate. It’s a simple yet luxurious pairing.
-
Chocolate Fondue: Dip the truffles in warm chocolate fondue for an extra layer of decadence. This interactive dessert is sure to impress your guests!
-
Vanilla Ice Cream: A scoop of creamy vanilla ice cream alongside your truffles creates a dreamy dessert combination. The cold, creamy texture beautifully contrasts the velvety truffles.
-
A Glass of Red Wine: A smooth red wine, like Cabernet Sauvignon, enhances the chocolate with its fruity notes, making it an elegant pairing for evening gatherings.
-
Sea Salt Caramel Sauce: Drizzle some homemade sea salt caramel over your truffles for a burst of flavor. The sweetness paired with a hint of salt takes these small bites to another level.
-
Nutty Biscotti: Crunchy biscotti offers a perfect dip for the truffles, adding an enjoyable texture contrast and elevating the overall experience during coffee time.
-
Dark Rum: A sip of rich dark rum adds a warm, spiced complexity that brings out the best in your chocolate truffles, making it a luxurious choice.
Chef's Helpful Tips
- When making chocolate truffles, always use high-quality dark chocolate for the best flavor and texture.
- Avoid overheating the cream, as it should only simmer to preserve the integrity of the chocolate when combined.
- For a smoother mixture, let the chocolate sit in the hot cream for a minute before stirring to ensure it melts evenly.
- Ensure the truffles are adequately chilled for at least 2 hours, as this makes them easier to roll into perfect shapes.
Chocolate Truffles Recipe FAQs
How do I choose the right dark chocolate for my truffles?
Absolutely! When selecting dark chocolate, aim for a cacao content of at least 60% for a rich, complex flavor. Look for high-quality chocolate bars without fillers or additives. This will significantly enhance the dessert’s overall taste and ensure a velvety texture.
How should I store chocolate truffles?
Very! Keep your chocolate truffles in an airtight container in the fridge, where they will stay fresh for up to 1 week. This helps maintain their rich flavor and creamy texture. If you’re storing them longer, follow the freezing instructions below.
Can I freeze chocolate truffles, and if so, how?
Yes! To freeze chocolate truffles, place them in a single layer on a parchment-lined baking sheet. Once they are frozen solid (about 2-3 hours), transfer the truffles to an airtight container or freezer bag. They will stay fresh in the freezer for up to 3 months. When ready to enjoy, let them thaw in the fridge overnight, or leave them at room temperature for about 15 minutes for a softer texture.
What if my truffle mixture is too runny?
No worries! If your truffle mixture is too runny, it might need more chilling time. Return it to the fridge and let it chill longer—check every 30 minutes. If it’s still too soft after several hours, you can mix in about a tablespoon of cocoa powder or melted chocolate to help thicken it up.
Are there any dietary considerations I should keep in mind?
Definitely! If you’re concerned about allergies, check the chocolate packaging for potential allergens like dairy or nuts. Additionally, for a vegan option, you can replace the heavy cream with coconut cream or a dairy-free alternative and use dairy-free chocolate. This way, everyone can indulge in these delightful chocolate truffles!
Equipment
- saucepan
- Bowl
- Refrigerator
- Melon Baller
- Plastic Wrap
Ingredients
For the Truffle Mixture
- 8 oz Dark chocolate opt for high-quality chocolate for the richest flavor
- 1/2 cup Heavy cream creates a smooth and luscious texture
- 1 tsp Vanilla extract enhances the chocolate flavor beautifully
For Dusting
- Cocoa powder for dusting
Instructions
How to Make Chocolate Truffles
- Pour the heavy cream into a saucepan and place it over medium heat. Allow it to simmer gently, stirring occasionally, until bubbles form around the edges, about 3-4 minutes.
- Remove the saucepan from the heat and add the chopped dark chocolate to the hot cream. Let it sit for a minute to melt, then stir gently until the mixture is smooth and glossy.
- Add the vanilla extract to the chocolate mixture, mixing well to combine.
- Transfer your chocolate mixture to a bowl and cover it with plastic wrap. Refrigerate for about 2 hours, or until the mixture is firm enough to scoop and mold.
- Once chilled, use a small melon baller or your hands to scoop out portions of the chocolate mixture. Roll them into small balls about the size of a walnut.
- Roll each truffle in cocoa powder until they are completely coated.
- Place the dusted truffles in an airtight container and store them in the fridge until ready to serve.