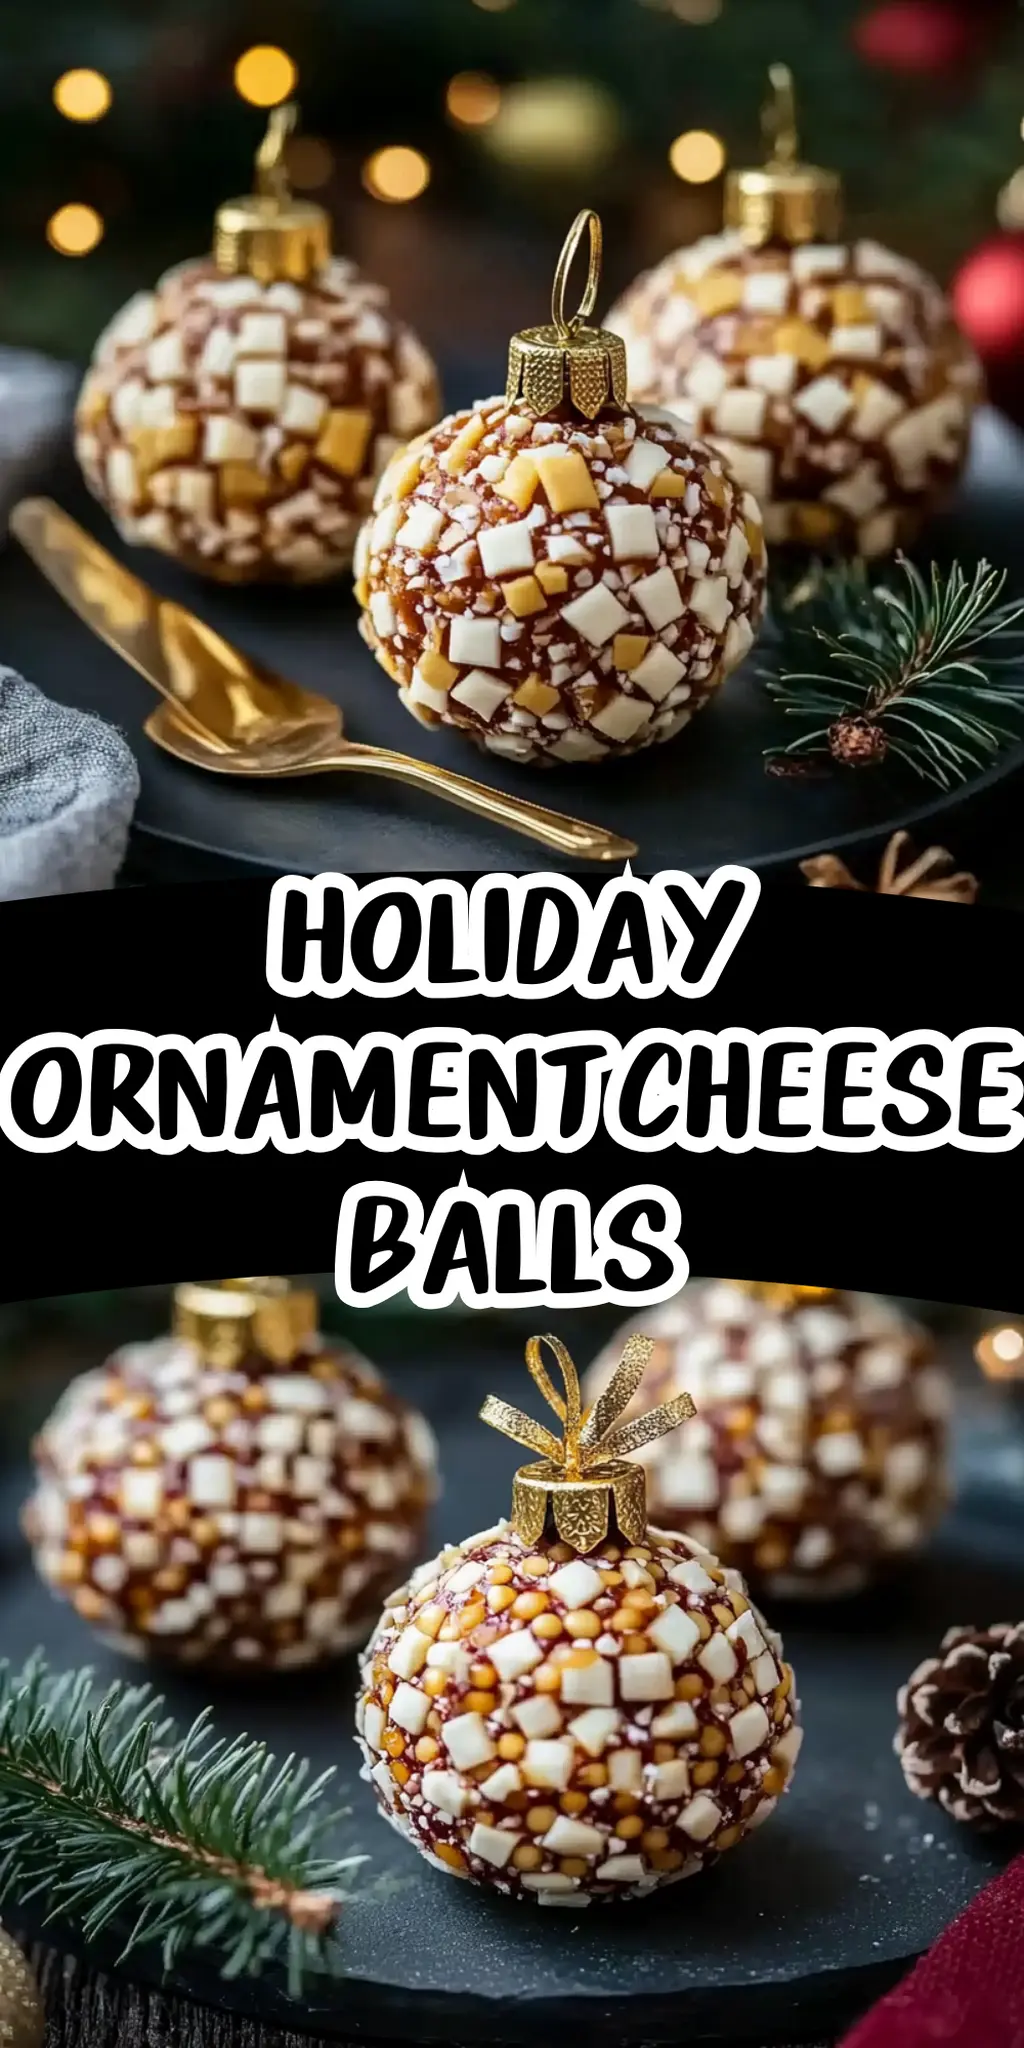
When the holiday season rolls around, my heart fills with warmth and excitement, driven by the thought of family gatherings and festive feasts. One of my absolute favorite ways to bring joy to the table is with these delightful Holiday Ornament Cheese Balls. The moment I take that first bite, I’m transported back to a cozy evening spent with loved ones, laughter filling the air and delicious aromas wafting from the kitchen.
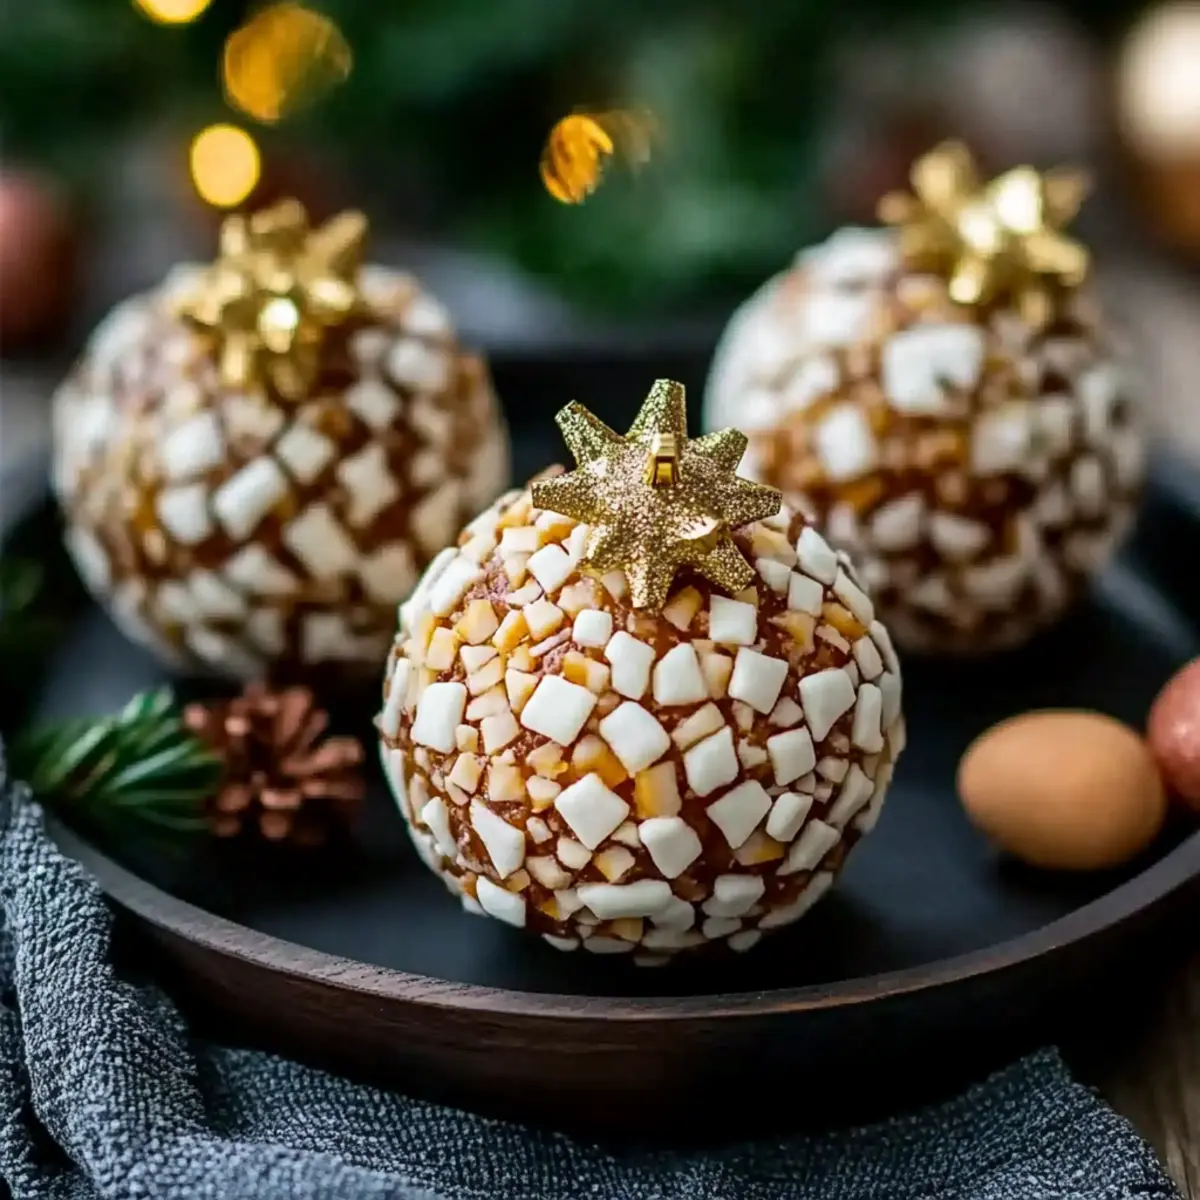
These charming cheese balls are not only a feast for the taste buds but also a visual treat. They’re incredibly easy to make—perfect for even the busiest of holiday schedules—and can be customized to suit your flavor preferences. Plus, they double as a fun kitchen activity with the family or a creative way to impress guests at your next gathering. Whether you’re using vibrant veggies, rich nuts, or sweet dried cranberries, each bite bursts with flavor, making them an instant crowd-pleaser. So, let’s roll up our sleeves and get to creating these edible ornaments that will steal the show this season!
Why You'll Love This Holiday Ornament Cheese Balls
- These Holiday Ornament Cheese Balls are not only visually stunning but also incredibly simple to prepare, making them a perfect addition to your festive spread.
- Each bite is a delightful explosion of flavor, thanks to the creamy cheeses and assorted toppings that cater to various tastes.
- Their versatility allows you to customize them with your favorite ingredients, ensuring they fit perfectly with any holiday theme or gathering.
- Plus, they’re a tremendous hit with guests, making them a fantastic choice for parties or family celebrations that will have everyone coming back for more.
Holiday Ornament Cheese Balls Ingredients
For the Cheese Mixture
• Cream cheese – a rich base that provides creaminess; ensure it’s softened for easy mixing.
• Shredded cheddar cheese – adds a sharp, tangy flavor that pairs wonderfully with the creaminess.
• Shredded mozzarella cheese – contributes a stretchy texture and mild taste, enhancing the cheese blend.
• Green onions – bring a fresh, bright crunch that contrasts beautifully with the creamy cheeses.
• Red bell pepper – adds sweetness and color; feel free to substitute with yellow or orange bell peppers for variation.
• Garlic powder – infuses a savory depth of flavor; fresh garlic can also be used for a stronger kick.
• Onion powder – complements the garlic and enhances overall flavor without the pungency of fresh onions.
• Paprika – provides a hint of smokiness and a pop of color that makes the cheese balls even more appealing.
• Salt – balances the flavors and elevates the taste profile of the cheese mixture.
• Pepper – adds a subtle warmth; adjust to taste if you prefer a milder spice.
For the Coatings
• Diced red bell peppers – add a vibrant touch and crunch to the cheese balls; mix it up with other colorful vegetables!
• Diced green bell peppers – provide contrast in flavor and color; they can be swapped for any favorite veggie.
• Chopped chives – lend an onion-like flavor that brightens the overall taste.
• Crushed pecans or walnuts – add texture and nutty flavor, giving your cheese balls a delightful crunch.
• Shredded cheese – opt for any favorite type, like pepper jack or gouda, to customize your cheese balls.
• Dried cranberries – bring a hint of sweetness that balances the savory elements; feel free to substitute with raisins.
• Crushed crackers – provide a crispy coating; choose seasoned crackers for an added flavor booster.
• Pomegranate seeds – add a burst of freshness and a pop of color; they make a stunning garnish.
• Pretzel sticks – perfect for “ornament” stems, adding whimsy and a salty crunch.
• Herb stems – enhance the visual appeal while incorporating fresh flavors; think thyme or rosemary.
• Tiny vegetable slices – use to create decorative accents on top; cucumbers or radishes work beautifully.
With these simple yet delightful ingredients, your Holiday Ornament Cheese Balls will not only look festive but will also be a hit at your holiday gatherings!
How to Make Holiday Ornament Cheese Balls
-
Mix the Base: In a large bowl, combine softened cream cheese, cheddar cheese, mozzarella, green onions, red bell pepper, garlic powder, onion powder, paprika, salt, and pepper. Blend until smooth and creamy.
-
Chill the Mixture: Cover the cheese mixture with plastic wrap and refrigerate for 20–30 minutes. This will firm up the blend, making it easier to shape into balls.
-
Shape the Balls: Once the mixture is chilled, scoop out small portions and roll them into bite-sized balls using your hands. Aim for about 1-inch in diameter for easy snacking.
-
Prepare Toppings: In small bowls, arrange your chosen coatings like crushed nuts, diced veggies, and herbs. This is where the fun begins – mix and match as you please!
-
Coat Each Ball: Roll each cheese ball in your desired toppings, making sure they are fully coated. Experiment with different combinations to create unique flavors and textures.
-
Add a Stem: For a festive touch, insert a pretzel stick, herb stem, or tiny vegetable slice into the top of each cheese ball, mimicking an ornament.
-
Final Chill: Place the finished cheese balls back in the refrigerator for at least 20 minutes. This step helps the flavors meld together and keeps them firm until serving.
Optional: For an extra decorative touch, sprinkle some pomegranate seeds on top just before serving.
Exact quantities are listed in the recipe card below.
Holiday Ornament Cheese Balls Variations
Feel free to get creative and make these cheese balls your own with delightful twists that will excite your taste buds!
-
Vegan: Substitute cream cheese with a nut-based cheese and use nutritional yeast for a cheesy flavor without dairy. A fantastic way to cater to vegan guests!
-
Spicy: Add diced jalapeños or crushed red pepper flakes to the cheese mixture for a fiery kick that balances beautifully with the creamy textures.
-
Herb-Infused: Mix in fresh herbs like dill or basil into the cheese mixture, giving your cheese balls a fragrant burst of flavor that dances on the palate.
-
Sweet & Savory: Toss in chopped dried fruits like apricots or figs, balancing the savory cheese with a touch of natural sweetness that adds complexity.
-
Smoky Flavor: Incorporate smoked paprika or a dash of liquid smoke into the cheese mix to evoke a rustic, campfire feel that’s perfect for holiday gatherings.
-
Nutty Crunch: Instead of crushed crackers, use crushed flavored corn chips or pretzels for an extra crunch and savory flavor that kids will love.
-
Mediterranean Twist: Include feta cheese or kalamata olives in the mixture for a vibrant Mediterranean flavor profile, perfect for dipping with pita chips.
-
Fun & Fruity: Roll in finely chopped pecans and garnish with pomegranate seeds for a festive appearance and delightful crunch that makes each bite exciting.
What to Serve with Holiday Ornament Cheese Balls?
Imagine a beautifully set table adorned with laughter, cheerful chatter, and the delightful taste of creamy cheese balls—a feast for all senses.
-
Crunchy Veggie Platter: A fresh assortment of crisp vegetables like carrots, cucumbers, and bell peppers offers a refreshing contrast. These vibrant picks add a delightful crunch and are perfect for dipping in your cheese ball spread.
-
Savory Crackers: Opt for an array of artisanal crackers that add varied textures. The crispiness pairs wonderfully with the creamy cheese, enhancing the overall snacking experience.
-
Fruit Chutney: A sweet and tangy fruit chutney, like cranberry or apple, brings a burst of flavor that complements the savory cheese balls beautifully. The contrast of sweet and savory will dance on your taste buds.
-
Light Salad: A simple side salad with mixed greens, pomegranate seeds, and a vinaigrette dressing can provide a refreshing palate cleanser amidst the rich cheese balls. Greens add vibrancy and balance to your meal.
-
Wine Pairing: A crisp, chilled white wine like Sauvignon Blanc or a light-bodied red like Pinot Noir will elevate the experience. The wine’s acidity complements the richness of the cheese balls perfectly.
-
Chocolate-Dipped Pretzels: For a sweet finish, serve chocolate-dipped pretzels alongside your cheese balls. The sweet and salty combination is a delightful way to round off your festive gathering.
-
Festive Mocktails: Create a refreshing cranberry spritzer or pomegranate fizz to serve with the cheese balls. These sparkling beverages add a celebratory touch to your table without the need for alcohol.
How to Store and Freeze Holiday Ornament Cheese Balls
Fridge: Keep leftover Holiday Ornament Cheese Balls in an airtight container in the fridge for up to 5 days. This method preserves their creamy texture and vibrant toppings.
Freezer: For longer storage, freeze the uncoated cheese balls on a baking sheet until firm, then transfer to a freezer-safe bag for up to 2 months. Just coat them after thawing!
Thawing: When ready to enjoy, thaw in the fridge overnight. You can then coat them with your chosen toppings for added freshness and crunch before serving.
Reheating: These cheese balls are best served cold or at room temperature, so there’s no need to reheat! Just take them out and enjoy the festive flavors.
Make Ahead Options
These Holiday Ornament Cheese Balls are perfect for meal prep, allowing you to enjoy more time with family and friends during the festive season. You can prepare the cheese mixture up to 24 hours in advance; simply cover it tightly with plastic wrap and refrigerate. Additionally, once you’ve shaped the cheese balls, you can refrigerate them for up to 3 days before serving—just be sure to coat them in your toppings right before serving to maintain their crispy texture. When you’re ready to impress your guests, simply insert a pretzel stick or herb stem into each ball and enjoy delicious, homemade appetizers with minimal last-minute effort!
Chef's Helpful Tips
- For the Holiday Ornament Cheese Balls, ensure your cream cheese is at room temperature for easy blending, as this will help achieve a smooth and creamy texture.
- When shaping the cheese balls, aim for uniform sizes so they cook and chill evenly, and consider wearing gloves for a mess-free experience.
- If your mixture feels too soft, give it a bit more chilling time in the refrigerator before rolling to avoid sticky hands.
- Lastly, let the cheese balls chill for at least 20 minutes before serving; this not only helps them firm up but also allows the flavors to develop beautifully.
Holiday Ornament Cheese Balls Recipe FAQs
What kind of cream cheese should I use for this recipe?
Absolutely! For the best results, use full-fat cream cheese as it has a smoother texture and richer flavor. Make sure it’s softened to room temperature before mixing, as this will make blending much easier.
How long can I store Holiday Ornament Cheese Balls in the fridge?
You can keep your leftover Holiday Ornament Cheese Balls in an airtight container in the fridge for up to 5 days. This way, they stay fresh and maintain their delightful texture. Just check for any discoloration or off smells before enjoying them again.
Can I freeze Holiday Ornament Cheese Balls?
Yes, you can! For longer storage, freeze the uncoated cheese balls on a baking sheet until they are firm. Then transfer them to a freezer-safe bag, where they’ll keep for up to 2 months. When you’re ready to enjoy, simply thaw them in the fridge overnight and then coat with your toppings right before serving to ensure they stay fresh and crispy.
What if my cheese mixture is too soft to shape?
Very! If you find the mixture is too soft after chilling, don’t worry! You can let it sit in the fridge for an additional 10-15 minutes to firm up more. If it’s still too soft, you might add a bit more shredded cheese or a touch of cornstarch to help thicken it up. Just make sure to mix it well and chill again for a bit before shaping.
Are these cheese balls suitable for those with nut allergies?
Absolutely! If you or your guests have nut allergies, simply skip the crushed pecans or walnuts. The beauty of the Holiday Ornament Cheese Balls is their versatility – you can replace nuts with extra veggies or some crispy crushed crackers to add texture without compromising on flavor.
Can I make these cheese balls ahead of time?
Absolutely! You can prepare the cheese mixture a day in advance and roll them into balls. Just store them in the fridge until you’re ready to coat them and serve. This not only saves you time on the day of your gathering but also allows the flavors to meld together beautifully!
Equipment
- large bowl
Ingredients
Cheese Mixture
- 8 oz cream cheese softened
- 1 cup shredded cheddar cheese
- 1 cup shredded mozzarella cheese
- 3 scallions green onions chopped
- 1 medium red bell pepper diced
- 1 tsp garlic powder
- 1 tsp onion powder
- 1 tsp paprika
- 1 tsp salt
- 1/2 tsp pepper
Coatings
- 1/2 cup diced red bell peppers
- 1/2 cup diced green bell peppers
- 1/4 cup chopped chives
- 1/2 cup crushed pecans or walnuts
- 1 cup shredded cheese your choice
- 1/2 cup dried cranberries
- 1 cup crushed crackers seasoned if desired
- 1/2 cup pomegranate seeds
- 12 pieces pretzel sticks
- 1/4 cup herb stems e.g., thyme or rosemary
- 1/2 cup tiny vegetable slices e.g., cucumbers or radishes
Instructions
Preparation Steps
- In a large bowl, combine softened cream cheese, cheddar cheese, mozzarella, green onions, red bell pepper, garlic powder, onion powder, paprika, salt, and pepper. Blend until smooth and creamy.
- Cover the cheese mixture with plastic wrap and refrigerate for 20–30 minutes to firm up.
- Once chilled, scoop out small portions and roll them into 1-inch diameter balls.
- Arrange chosen coatings in small bowls for mixing.
- Roll each cheese ball in your desired toppings until fully coated.
- Insert a pretzel stick, herb stem, or tiny vegetable slice into the top of each cheese ball for a festive touch.
- Refrigerate the finished cheese balls for at least 20 minutes before serving.