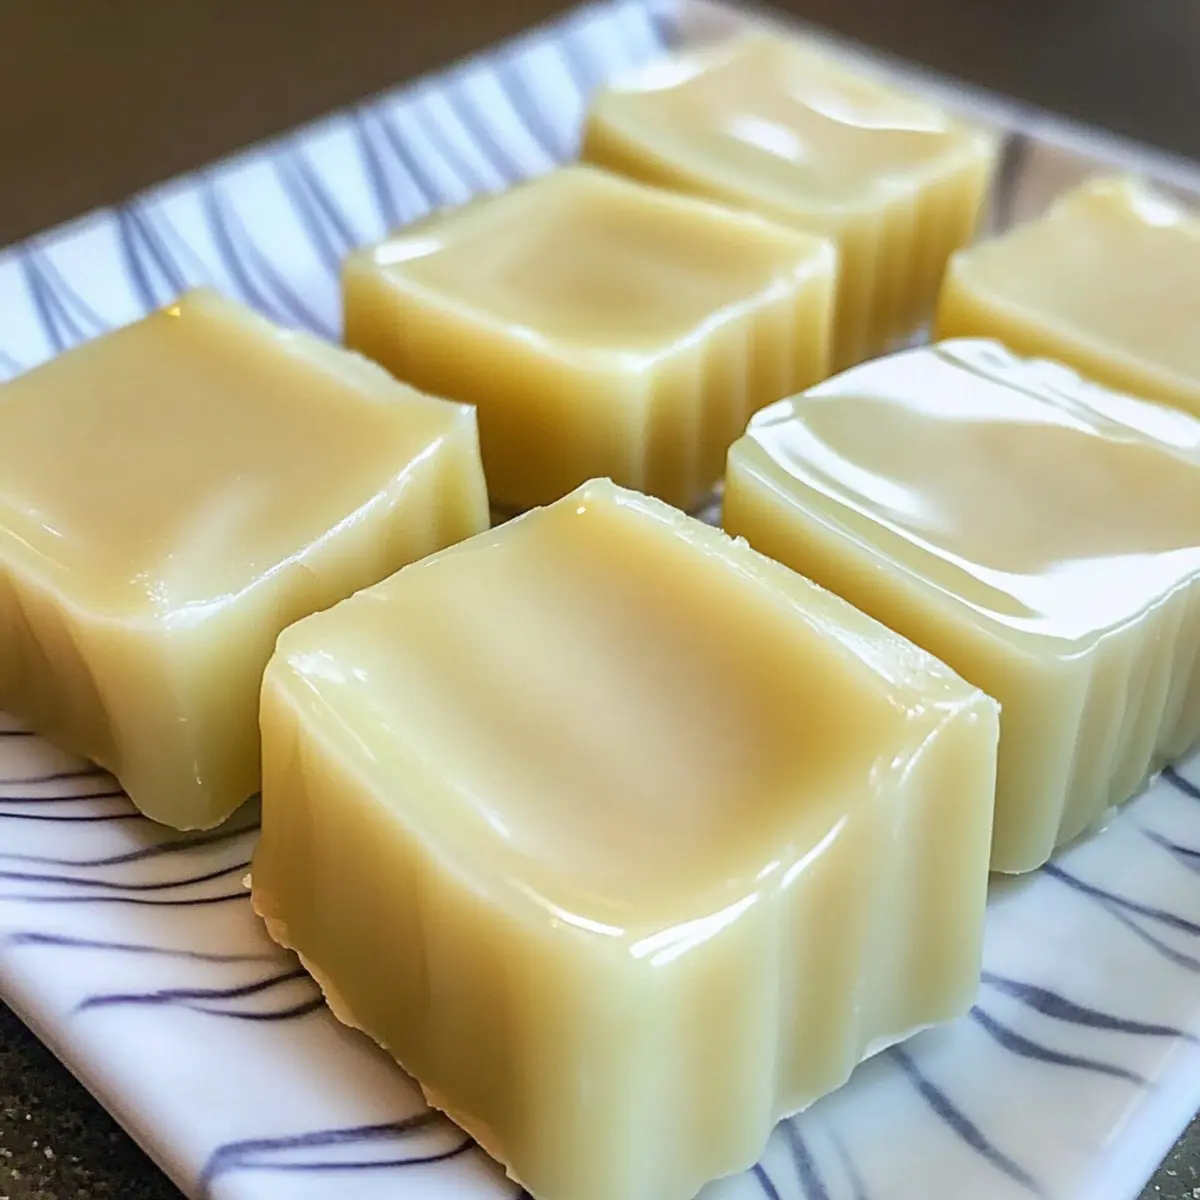
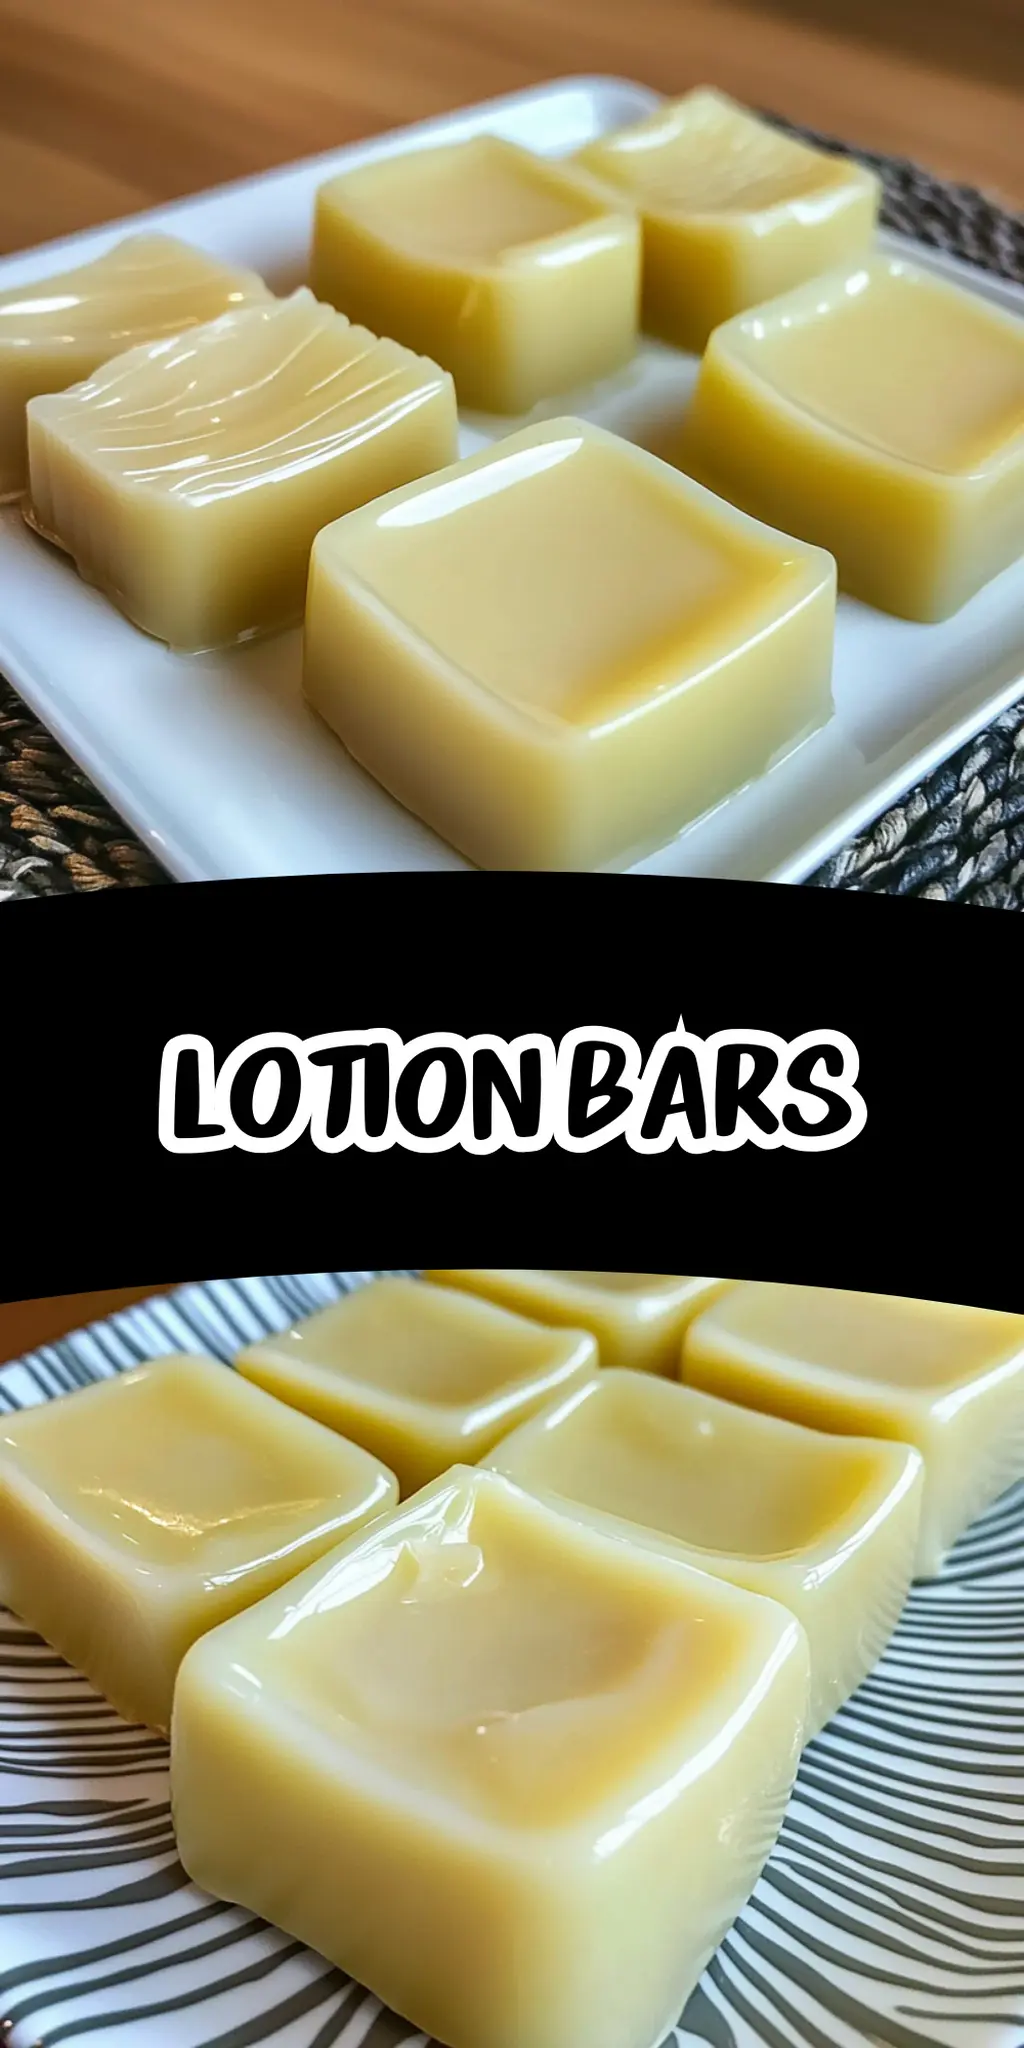
There’s something quite rewarding about creating your own natural products at home, and that’s exactly what drew me to making lotion bars. After a long week of battling dry skin from the crisp autumn air, I decided to take matters into my own hands. The moment I melted the nourishing beeswax, shea butter, and coconut oil together, a warm, comforting scent filled my kitchen, enveloping me like a cozy blanket.
This recipe, which only takes a mere 25 minutes from start to finish, has been a delightful surprise in my self-care routine. Not only are these lotion bars incredibly easy to whip up, but they also provide intense moisture—perfect for keeping your skin hydrated during colder months. Plus, they’re completely customizable with your favorite essential oils!
Whether you’re spoiled for choice by the endless options at the store or just want a personal touch in your skincare, these homemade lotion bars are the answer. Join me as I guide you through this simple yet satisfying recipe that you won’t just make for yourself, but also for your friends and family.
Why You'll Love This Lotion Bars
- These lotion bars are incredibly easy to make, taking just 25 minutes from start to finish.
- You’ll adore the rich, moisturizing blend of beeswax, shea butter, and coconut oil that provides deep hydration for your skin.
- The versatility of this recipe allows you to customize each bar with your favorite essential oils, making them uniquely yours.
- Plus, their appealing appearance in cute molds makes them perfect for gifting to friends and family.
Lotion Bars Ingredients
• Create delightful, moisturizing lotion bars with these simple ingredients!
For the Base
- Beeswax – a natural wax that helps solidify the bars and creates a protective barrier for your skin.
- Shea Butter – deeply nourishing, it hydrates and softens dry skin.
- Coconut Oil – adds moisture while providing a light, pleasant scent that isn’t overpowering.
For the Fragrance (optional)
- Essential Oils – customize your bars with relaxing or invigorating scents like lavender or peppermint for a personal touch!
How to Make Lotion Bars
-
Melt the beeswax, shea butter, and coconut oil in a double boiler over low heat. Stir gently until everything melts together, forming a smooth and creamy mixture, about 10-15 minutes.
-
Combine the ingredients thoroughly by stirring them until fully blended. You should see a uniform consistency—this step is key to ensuring your lotion bars set perfectly.
-
Add any essential oils of your choice at this stage if you desire. A few drops of lavender or eucalyptus can elevate your lotion bars and make them feel luxurious!
-
Pour the melted mixture into your chosen molds. Use a ladle or a pouring jug for easy transfer, filling each mold to the brim.
-
Cool the poured lotion bars at room temperature until solid, which usually takes about 1-2 hours. You can speed up the process by placing them in the fridge for about 30 minutes.
-
Remove the bars from the molds gently once they are solid. They’ll pop out easily, showcasing their delightful shapes!
Optional: Add dried herbs or petals to the mold for a decorative touch!
Exact quantities are listed in the recipe card below.
What to Serve with Lotion Bars?
Embrace a full self-care experience by pairing your luscious lotion bars with delightful complementary items.
- Soft Washcloths: Gentle on the skin, these add a luxurious touch to your skincare routine. Use them post-shower to enhance moisture absorption.
- Homemade Sugar Scrub: This exfoliating treat will prep your skin before applying lotion bars, leaving it silky smooth and ready for hydration.
- Essential Oil Diffuser: Create a serene atmosphere that matches the calming scents of your lotion bars, enveloping you in relaxation as you pamper yourself.
- Scented Candles: Light a few to further enhance the ambiance. The warm glow and soothing scents will make your self-care moment feel truly special.
- Bath Salts: After a lengthy day, soak in a bath sprinkled with fragrant salts. Follow it up with your lotion bars for a perfectly soft finish.
- A Good Book: Settle in with a captivating read. The soothing scents and textures will go hand-in-hand with your calm evening ritual.
Combining these elements transforms your lotion bars into an indulgent escape from everyday life. Enjoy the nourishing sensations as you pamper both body and soul!
How to Store and Freeze Lotion Bars
Room Temperature: Keep your lotion bars in a cool, dry place away from direct sunlight. They will maintain their quality for up to 6 months.
Fridge: If you prefer a firmer texture, store your lotion bars in the refrigerator. They’ll stay fresh for up to a year while providing a refreshing feel when used.
Freezer: For long-term storage, place your lotion bars in an airtight container and freeze them. They can last up to 2 years, preserving their nourishing properties, perfect for seasonal use!
Reheating: If your lotion bars soften too much, gently heat them using a double boiler to restore their shape. Just ensure to keep them cool after reheating!
Make Ahead Options
These lotion bars are perfect for busy home cooks looking to streamline their self-care routine! You can melt and combine the beeswax, shea butter, and coconut oil up to 24 hours in advance, then refrigerate the mixture in an airtight container to maintain its quality. To finish, simply reheat the mixture over low heat until it reaches a smooth consistency again, add any essential oils you’d like, and pour it into molds. This prep-ahead approach not only saves you time but also makes crafting your homemade lotion bars an effortless activity. The end result will be just as luxurious and nourishing, allowing you to indulge in self-care without the last-minute rush!
Lotion Bars Variations
Feel free to explore your creativity and customize your lotion bars with these exciting variations!
-
Cocoa Butter: Swap out shea butter for cocoa butter for a decadent, chocolatey scent and even richer moisturizing properties.
-
Scent Blends: Combine essential oils, like peppermint and tea tree, for a refreshing yet soothing experience that can invigorate the senses.
-
Herbal Infusion: Infuse your oils with dried herbs like calendula or chamomile before mixing—this adds additional skin benefits and a lovely visual touch.
-
Colorful Fun: Add natural colorants such as beet powder or turmeric for vibrant, eye-catching lotion bars that brighten your skincare routine.
-
Vegan Option: Substitute beeswax with candelilla wax for a completely vegan alternative that still provides a solid texture and moisture retention.
-
Exfoliating Additives: Stir in a teaspoon of ground oatmeal or sugar for gentle exfoliation properties, perfect for a soothing skin treat.
-
Citrus Zing: Enhance your bars with citrus essential oils like orange or lemon for a bright, uplifting scent that energizes and refreshes.
-
Cooling Touch: Incorporate a few drops of peppermint essential oil to create a cooling lotion bar, perfect for warm weather or post-sun exposure!
Get ready to experiment and find the perfect combination that suits your skin and spirit!
Chef's Helpful Tips
- When making lotion bars, use a double boiler to prevent direct heat from damaging the ingredients.
- Be sure to stir the mixture thoroughly to achieve a smooth and even consistency before pouring it into molds.
- If you are adding essential oils, do so after removing the mixture from heat to preserve their therapeutic properties.
- Let the bars cool fully at room temperature for the best results, but if you’re in a hurry, the fridge can speed things up significantly.
- Enjoy your moisturizing creation!
Lotion Bars Recipe FAQs
What type of beeswax should I use for lotion bars?
You should use cosmetic-grade or pure beeswax for making lotion bars. Look for beeswax pellets or blocks that are free from impurities and additives. The quality of beeswax will ensure that your bars solidify well and provide the desired protective barrier for your skin.
How do I store my lotion bars?
Store your lotion bars in a cool, dry place, away from direct sunlight. They will maintain their quality for up to 6 months at room temperature. If you prefer a firmer texture, the refrigerator is a great option, where they’ll stay fresh for up to a year!
Can I freeze lotion bars for long-term storage?
Absolutely! For long-term storage, place your lotion bars in an airtight container and freeze them. This method keeps them potent and preserves their nourishing properties for up to 2 years. When you’re ready to use them, just take them out and let them thaw at room temperature.
What do I do if my lotion bars won’t come out of the molds?
If your lotion bars are sticking to the molds, you might want to try a few tricks. First, ensure the bars have completely cooled and solidified. You can also run warm water over the back of the molds to loosen them. If you want to ease the process next time, consider lightly greasing the molds with coconut oil before pouring in the mixture.
Are lotion bars safe for pets and small children?
While the ingredients in lotion bars are generally safe, they shouldn’t be ingested. Always supervise children and pets around skincare products. If your furry friends have sensitive skin or allergies, it’s best to consult your veterinarian before use, especially if essential oils are included.
What’s the best way to add fragrance to my lotion bars?
For a delightful scent, add essential oils after removing the mixture from heat. Start with about 10-20 drops, depending on your desired strength, and mix well. Popular choices include lavender for relaxation or peppermint for an invigorating twist. The more the merrier, so feel free to experiment with combinations!
Equipment
- double boiler
- molds
- ladle or pouring jug
Ingredients
Base Ingredients
- 1 cup Beeswax helps solidify the bars and creates a protective barrier
- 1 cup Shea Butter hydrates and softens dry skin
- 1 cup Coconut Oil adds moisture and a pleasant scent
Optional Fragrance Ingredients
- few drops Essential Oils customize with scents like lavender or peppermint
Instructions
How to Make Lotion Bars
- Melt the beeswax, shea butter, and coconut oil in a double boiler over low heat. Stir gently until everything melts together, forming a smooth and creamy mixture, about 10-15 minutes.
- Combine the ingredients thoroughly by stirring them until fully blended to ensure a uniform consistency.
- Add any essential oils of your choice at this stage if desired.
- Pour the melted mixture into your chosen molds, filling each mold to the brim.
- Cool the poured lotion bars at room temperature until solid, approximately 1-2 hours, or in the fridge for about 30 minutes.
- Remove the bars from the molds gently once they are solid.