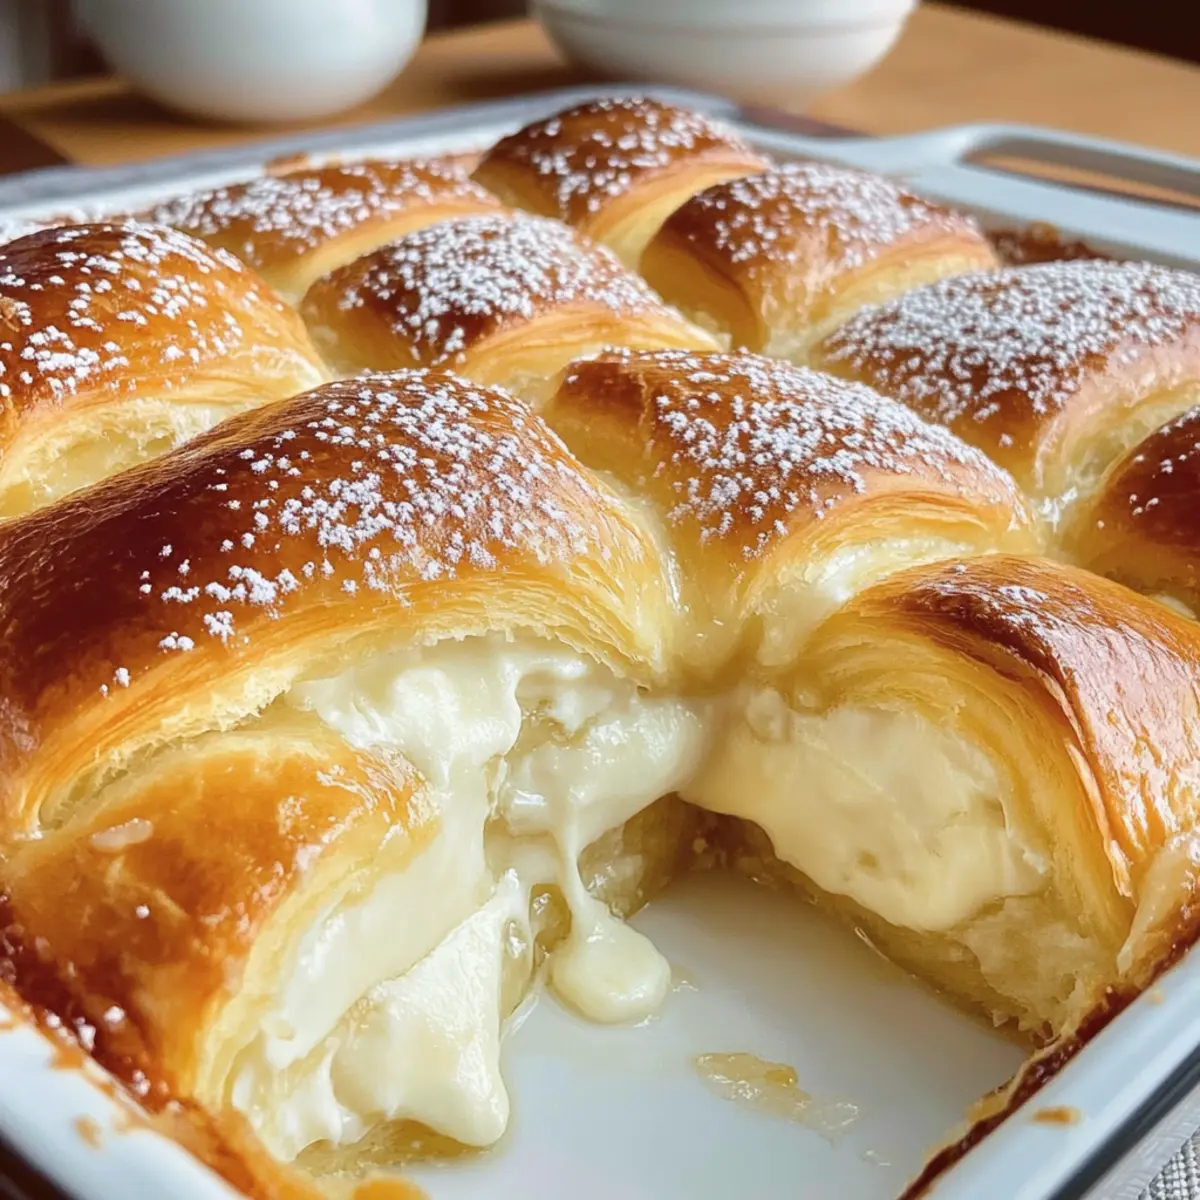
The moment I pulled this Cheesecake Crescent Rolls Casserole from the oven, my kitchen transformed into a cozy haven, filled with the sweet scent of cinnamon and buttery pastry. It’s like combining the best elements of a classic cheesecake with the nostalgia of crescent rolls; this dish has quickly become my go-to for gatherings and even quiet nights at home. I can’t tell you how many times my friends have asked for seconds (and thirds!) at brunches, all while marveling at how something so delicious could also be so easy to whip up.
Whether you’re looking to impress guests or simply treat yourself to a slice of comfort, this casserole checks all the boxes—effortless preparation, melt-in-your-mouth flavors, and a crowd-pleasing appeal that makes it a star of any table. Using just a few pantry staples, you’ll create a dessert that brings joy without the fuss. So let’s dive in and turn your kitchen into a haven of sweet delights!
Why You'll Love This Cheesecake Crescent Rolls Casserole
- This Cheesecake Crescent Rolls Casserole is incredibly easy to make, allowing you to enjoy a delicious dessert without spending hours in the kitchen.
- You’ll be amazed by the sweet, creamy flavor that combines perfectly with the flaky crescent roll layers.
- This dish is versatile enough to serve at brunches, family gatherings, or even a cozy night in, making it suitable for any occasion.
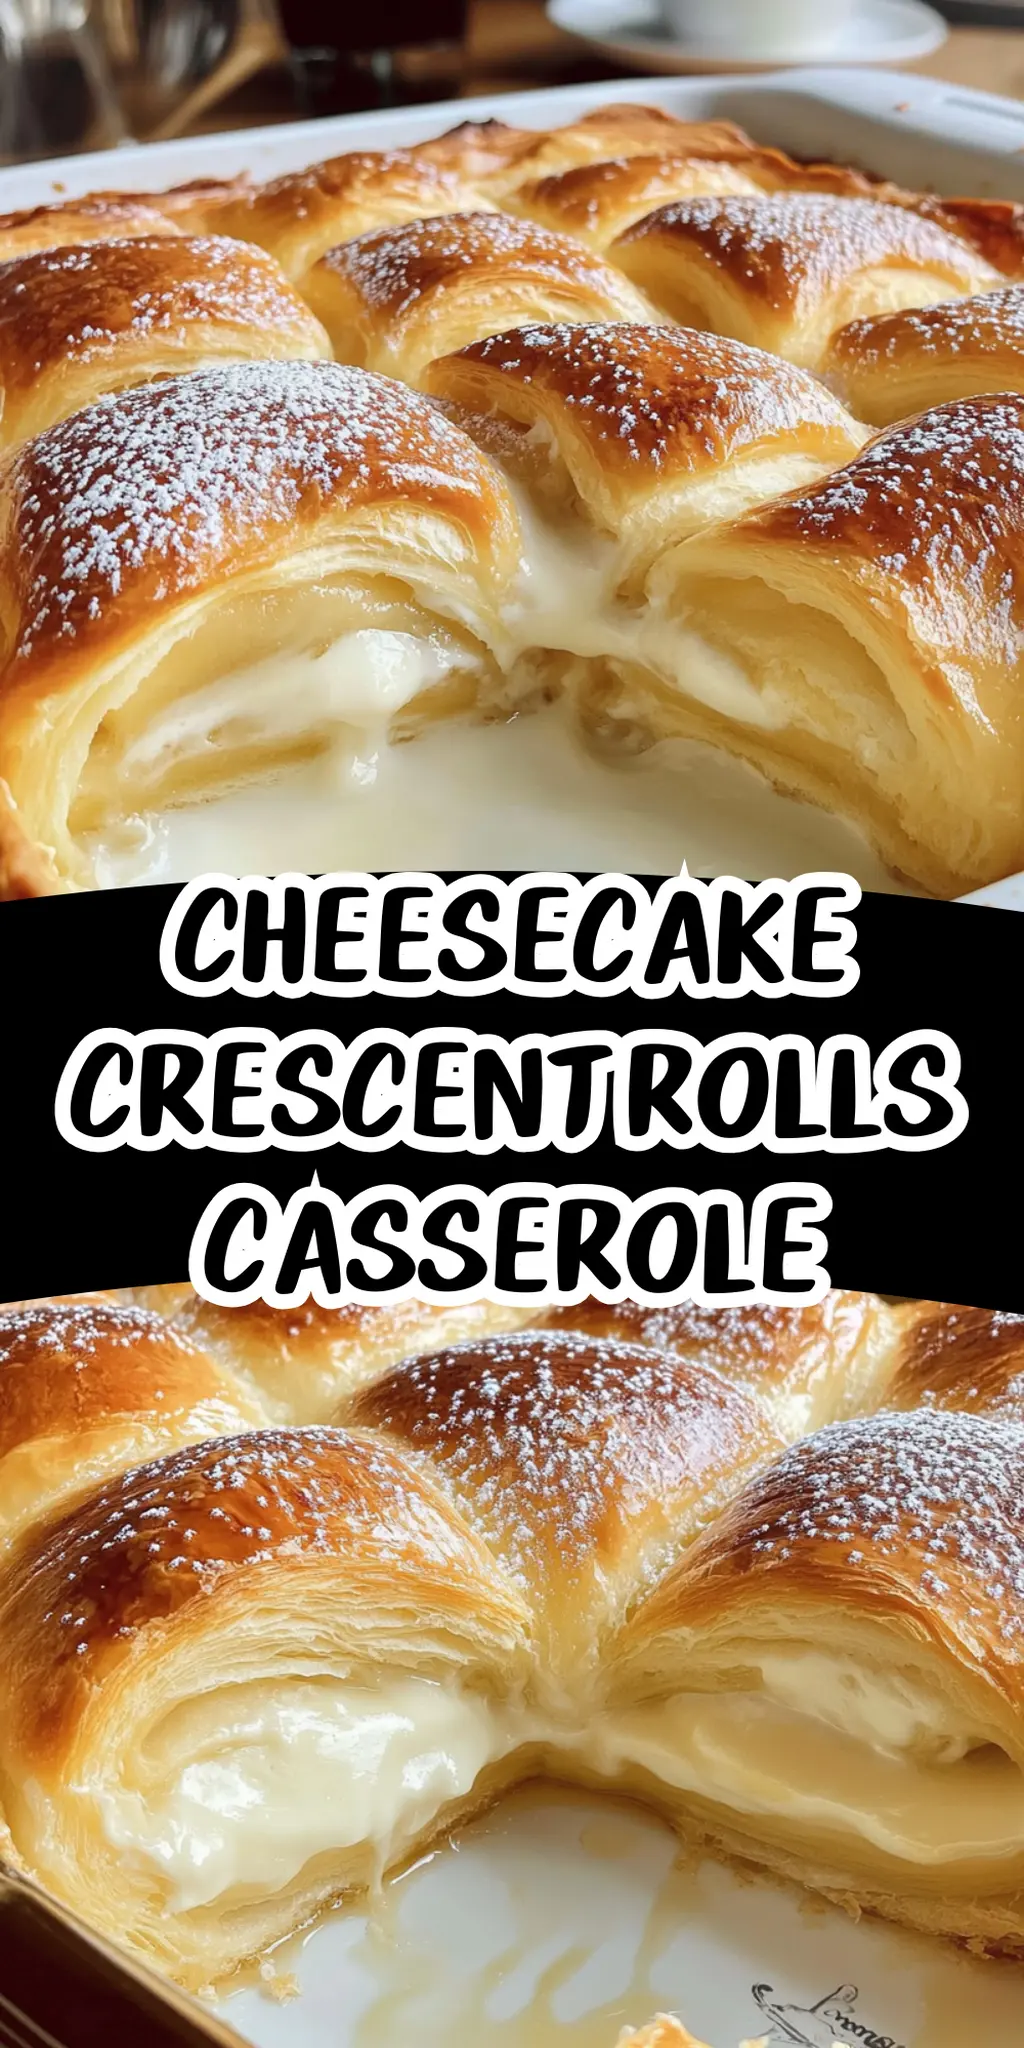
- With its golden brown topping and a sprinkle of cinnamon, it’s visually stunning and sure to impress your guests from the moment it hits the table.
Cheesecake Crescent Rolls Casserole Ingredients
• Get ready to savor each layer of flavors!
For the Casserole
- Crescent roll dough – 2 cans, perfect for creating a flaky base that complements the creamy filling.
- Cream cheese – 8 oz, softened to ensure a smooth and luscious mixture.
- Sugar – 1/2 cup, which balances the richness of the cream cheese beautifully.
- Vanilla extract – 1 tsp, adding warmth and depth of flavor to your cheesecake filling.
- Egg – 1 large, helps to bind the filling together for a delightful texture.
For the Topping
- Powdered sugar – 1/2 cup, perfect for dusting that sweet touch on top.
- Butter – 1/4 cup, melted to give a rich finish to your casserole.
- Cinnamon and sugar – for sprinkling on top, creating a warm and inviting aroma as it bakes.
This Cheesecake Crescent Rolls Casserole will be the highlight of your dessert table!
How to Make Cheesecake Crescent Rolls Casserole
-
Preheat your oven to 350°F (175°C). This is the perfect temperature to ensure your casserole bakes evenly and turns golden brown.
-
Mix together the softened cream cheese, sugar, vanilla extract, and egg in a bowl. Blend until smooth and creamy, ensuring there are no lumps for that luscious cheesecake texture.
-
Unroll one can of crescent rolls. Lay it gently in a greased baking dish, creating a nice, cozy base for your creamy filling.
-
Spread the cream cheese mixture evenly over the crescent roll layer. Use a spatula for a smooth and uniform layer that’ll add rich flavor to every bite.
-
Unroll the second can of crescent rolls on top of the cream cheese layer. Make sure to cover it well, as this will create a delightful flaky topping.
-
Brush the melted butter generously over the top layer. This step adds wonderful richness and helps the topping achieve a golden color as it bakes.
-
Sprinkle cinnamon and sugar over the buttered top to give your casserole a sweet, warm aroma that will have everyone craving a slice!
-
Bake for 25-30 minutes, or until the top is golden brown. Keep an eye on it, as every oven can vary slightly in baking time.
-
Cool the casserole for a few minutes before slicing and serving. This allows the layers to set slightly and makes serving easier.
Optional: Drizzle with extra melted butter before serving for an indulgent touch!
Exact quantities are listed in the recipe card below.
What to Serve with Cheesecake Crescent Rolls Casserole?
Imagine the delightful table setting where everyone can enjoy finger-licking sweetness alongside comforting savory sides.
- Fresh Berries: Bright and juicy strawberries or blueberries cut through the rich creaminess, adding a burst of freshness.
- Whipped Cream: A dollop of lightly sweetened whipped cream enhances the casserole’s decadence, making each bite a heavenly experience.
- Vanilla Ice Cream: Creamy vanilla ice cream melts slightly over warm slices, creating a delicious contrast of temperatures and textures.
- Coffee: A steaming cup of coffee or espresso balances the sweetness, enhancing the flavors of both the casserole and your conversations.
- Mixed Salad: A simple greens salad with a light vinaigrette provides a crisp, refreshing contrast, making your meal feel balanced.
- Chocolate Sauce: Drizzling warm chocolate over individual servings adds a luxurious touch for the chocolate lovers in your crowd.
- Peach Compote: This fruity compote offers a sweet but tart flavor profile that complements the casserole’s rich filling perfectly.
- Sparkling Water: A bubbly, flavored sparkling water serves as a refreshing and sophisticated drink pairing to accompany your dessert.
Cheesecake Crescent Rolls Casserole Variations
Feel free to explore your creativity and make this casserole uniquely yours with these delightful twists!
-
Fruit-Filled: Add fresh berries or sliced peaches between the layers for a fruity explosion, brightening the creamy filling beautifully. The sweetness of the fruit complements the richness of the cheesecake, making each bite a refreshing delight.
-
Chocolate Lover’s Twist: Mix in chocolate chips with the cream cheese filling for a decadent touch. Rich chocolate chunks melt into the creamy layer, offering a luscious contrast to the flaky crescent rolls.
-
Nutty Surprise: Incorporate chopped nuts like walnuts or pecans into the cream cheese mixture for an added crunch. The nuts provide a lovely texture and nutty flavor, creating an inviting balance to the softness of the filling.
-
Spiced Up: Add a pinch of nutmeg or cardamom to the sugar mix for a warm spice profile that enhances the comforting flavors of the casserole. This twist will transport you to cozy, spiced autumn days, no matter the season!
-
Maple Glaze: Instead of a butter topping, drizzle maple syrup over the crescent rolls before baking. This will infuse your casserole with a sweet, warm maple aroma that pairs perfectly with the cream cheese filling.
-
Dairy-Free Option: Substitute cream cheese with a vegan alternative like cashew cream or coconut cream to make this dish dairy-free. You won’t lose that luscious cheesecake flavor, and your guests will appreciate the thoughtful twist!
-
Zesty Lemon: Add lemon zest to the cream cheese mixture for a refreshing citrus hit. This bright flavor will lift the dish and pair wonderfully with the sweetness, creating a vibrant dessert that’s sure to impress.
-
Gluten-Free: Use gluten-free crescent rolls as a swap for the regular dough, making this casserole accessible to everyone at your table. It’s an easy way to include all your loved ones without compromising flavor.
Experiment with these variations to bring new life and flavor to your Cheesecake Crescent Rolls Casserole, and make it a dish that always feels special!
Storage Tips for Cheesecake Crescent Rolls Casserole
Room Temperature: Allow the casserole to cool completely, then cover it with plastic wrap or aluminum foil and store it at room temperature for up to 2 days.
Fridge: For longer freshness, refrigerate your Cheesecake Crescent Rolls Casserole in an airtight container, where it can last up to 5 days.
Freezer: To freeze, cut the casserole into serving pieces, wrap each piece tightly in plastic wrap, and then place them in a freezer bag. It will keep well for up to 2 months.
Reheating: Reheat in the oven at 350°F (175°C) for about 10-15 minutes, or until warmed through. You can also pop individual pieces in the microwave for quick heat-up!
Make Ahead Options
These Cheesecake Crescent Rolls Casserole are a fantastic choice for meal prep, allowing you to enjoy delightful desserts even on your busiest days! You can prepare the cream cheese mixture and assemble the first layer of crescent rolls up to 24 hours in advance—simply cover it tightly with plastic wrap and refrigerate to maintain that creamy texture. When it’s time to bake, just unroll the second can of crescent rolls on top, brush with melted butter, sprinkle with cinnamon and sugar, and pop it in the oven. Trust me, your homemade casserole will still be just as delicious and inviting, ready to impress your family or guests with minimal effort!
Chef's Helpful Tips
- To ensure your cheesecake filling is smooth and free of lumps, make sure your cream cheese is fully softened before mixing.
- When unrolling the crescent rolls, be gentle to avoid tearing the dough, which can create holes in your casserole.
- For a richer flavor, consider adding a touch of lemon zest to the cream cheese mixture; it pairs wonderfully with the sweetness.
- Always keep an eye on your casserole as it bakes since ovens can vary; look for that perfect golden brown on top around the 25-minute mark.
Cheesecake Crescent Rolls Casserole Recipe FAQs
How do I choose ripe ingredients for my Cheesecake Crescent Rolls Casserole?
Absolutely! For this recipe, you’ll want your cream cheese to be perfectly softened, so it blends smoothly with the sugar and egg. Look for cream cheese that is fresh, without dark spots or blemishes on the packaging. Always check the expiration date to ensure quality!
How should I store my Cheesecake Crescent Rolls Casserole?
Store your casserole in an airtight container in the refrigerator for up to 5 days. Make sure it cools completely before sealing it to avoid condensation inside the container. If you prefer to keep it at room temperature, it can last up to 2 days, but for the best taste and quality, refrigeration is recommended.
Can I freeze Cheesecake Crescent Rolls Casserole?
The more the merrier when it comes to enjoying this delightful dish later! To freeze, first cut the casserole into individual portions. Wrap each piece tightly in plastic wrap to prevent freezer burn and then place them in a freezer bag. It will keep well for up to 2 months. When you’re ready to enjoy, simply remove a piece and reheat in the oven at 350°F (175°C) for about 10-15 minutes or until warmed through.
What should I do if my casserole is not baking evenly?
Very often, uneven baking happens due to hot spots in the oven. Make sure to rotate the casserole halfway through the baking time for even browning. If you notice that parts of the top are getting too brown, cover those sections loosely with aluminum foil while it continues to bake until the center is set and not jiggly.
Is this dessert suitable for people with dietary restrictions?
This Cheesecake Crescent Rolls Casserole contains dairy and sugar, so it’s important to consider any allergies. If you’re making it for someone with a dairy allergy, you can substitute the cream cheese with a dairy-free cream cheese alternative. For those watching their sugar intake, opt for a sugar substitute suitable for baking. As with any recipes, always double-check labels when making substitutions!
Equipment
- Oven
- Mixing bowl
- baking dish
- spatula
Ingredients
For the Casserole
- 2 cans Crescent roll dough Perfect for creating a flaky base.
- 8 oz Cream cheese Softened for a smooth mixture.
- 1/2 cup Sugar Balances the richness of the cream cheese.
- 1 tsp Vanilla extract Adds warmth and depth of flavor.
- 1 large Egg Helps to bind the filling.
For the Topping
- 1/2 cup Powdered sugar For dusting on top.
- 1/4 cup Butter Melted for a rich finish.
- Cinnamon and sugar For sprinkling on top.
Instructions
Preparation
- Preheat your oven to 350°F (175°C).
- Mix together the softened cream cheese, sugar, vanilla extract, and egg in a bowl until smooth.
- Unroll one can of crescent rolls and lay it in a greased baking dish.
- Spread the cream cheese mixture evenly over the crescent roll layer.
- Unroll the second can of crescent rolls on top of the cream cheese layer.
- Brush melted butter over the top layer.
- Sprinkle cinnamon and sugar over the buttered top.
- Bake for 25-30 minutes or until the top is golden brown.
- Cool for a few minutes before slicing and serving.