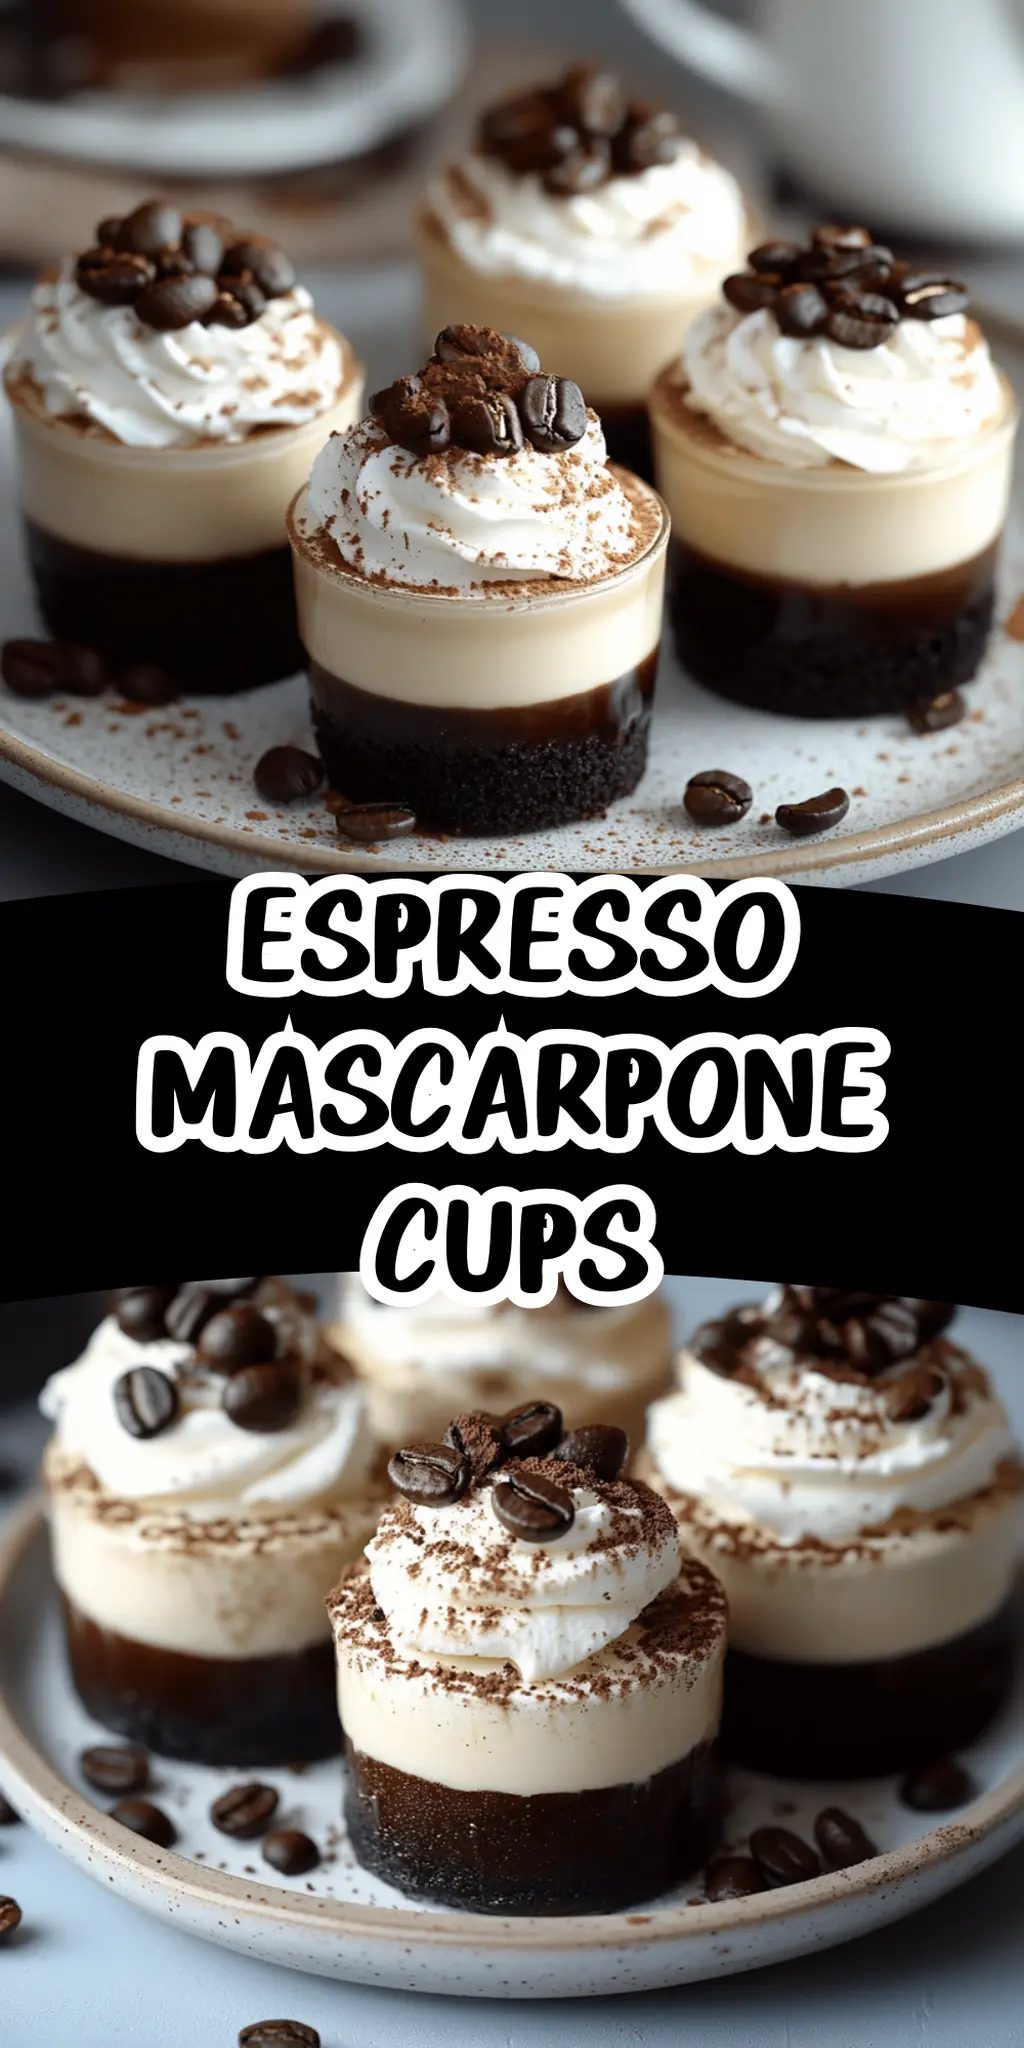
There’s nothing quite like the rich, inviting aroma of freshly brewed espresso wafting through the kitchen. As the warm cup quietly cools, I’m reminded of those cozy café afternoons spent indulging in delightful desserts—the ones that make you linger just a little longer. This recipe for Espresso Mascarpone Cups is my answer to those moments, capturing all the sumptuous flavors of a classic tiramisu but in an elegant, easy-to-assemble presentation.
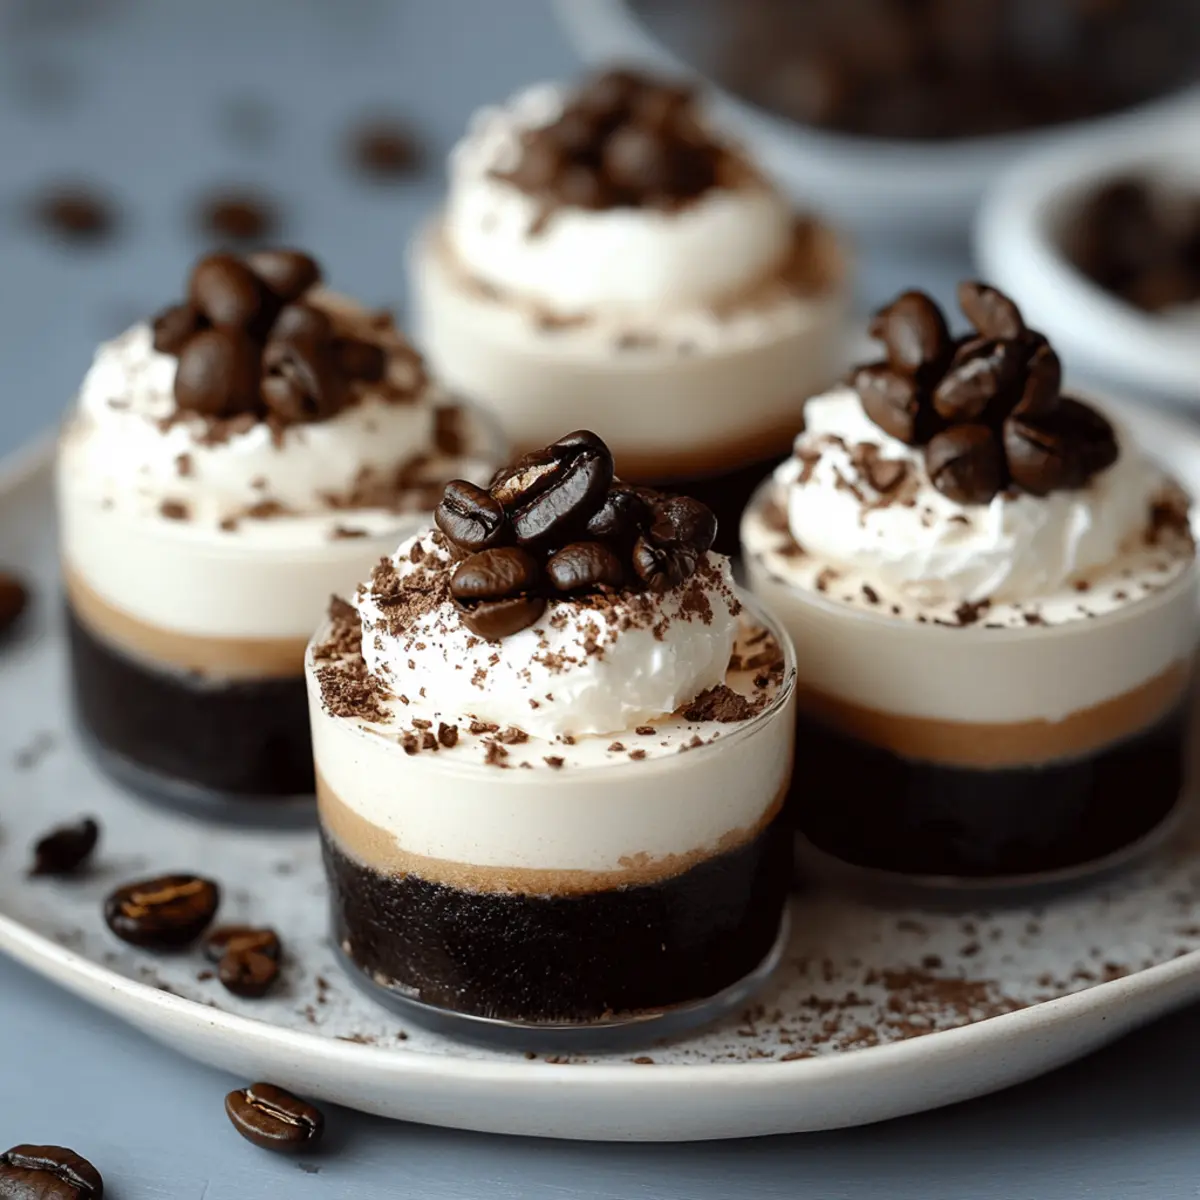
Imagine this: a creamy mascarpone blend accented by subtle notes of coffee and a gentle sweetness, perfectly layered with delicate ladyfingers soaked in espresso. Each spoonful offers a delightful contrast of textures, and the dusting of cocoa on top? Pure heaven! Whether you’re looking to impress at a dinner party or simply jazzing up dessert for family night, these cups are sure to be a hit. Join me in creating this indulgent treat that’s not only a feast for the palate but also a joy to prepare!
Why You'll Love This Espresso Mascarpone Cups
- This recipe is incredibly easy to make, requiring only a few simple steps and minimal prep time.
- The rich and creamy flavor, enhanced by the strong notes of espresso and sweetness, will have everyone coming back for seconds.
- Versatile enough for any occasion, these delightful cups impress both at formal gatherings and casual family dinners.
- With their stunning layered presentation, they are as visually appealing as they are delicious, making them a true showstopper.
Espresso Mascarpone Cups Ingredients
• Indulge in a deliciously simple recipe.
For the Espresso Layer
- 1 cup strong brewed espresso – Make sure to brew it strong for that rich base flavor.
- 2 tablespoons sugar – Adjust to taste, depending on your sweetness preference.
- 1 tablespoon coffee liqueur (optional) – Adds an extra depth of flavor; skip if you prefer non-alcoholic.
For the Cream Mixture
- 8 oz mascarpone cheese – This gives the cups a smooth and creamy texture.
- 1 cup heavy cream – Whip it until you achieve those lovely stiff peaks.
- 1/2 cup powdered sugar – Sweetens the mascarpone cream, keeping it light and fluffy.
- 1 teaspoon vanilla extract – Enhances the overall flavor profile beautifully.
For the Assembly
- Ladyfinger cookies – These delicate cookies soak up the espresso nicely; any sponge cake will do.
- Cocoa powder – Dust on top for that classic coffee flavor and elegant finish.
- Chocolate shavings or coffee beans (optional) – Use as a garnish for an extra touch of decadence.
Get ready to impress your loved ones with these rich and delightful Espresso Mascarpone Cups!
How to Make Espresso Mascarpone Cups
-
Brew a cup of strong espresso and cool it down. Stir in sugar and the optional coffee liqueur until they dissolve completely. This will create a rich base for your cups.
-
Mix the mascarpone cheese, powdered sugar, and vanilla extract in a mixing bowl. Blend until the mixture is smooth and creamy, ensuring all ingredients are well incorporated.
-
Whip the heavy cream in a separate bowl until stiff peaks form. This step is crucial for achieving a light and airy texture that balances the richness of the mascarpone.
-
Fold the whipped cream gently into the mascarpone mixture. Take your time to combine them well, being careful not to deflate that delightful fluffiness you just created.
-
Layer the espresso mixture at the bottom of serving cups or glasses. Add a layer of ladyfinger pieces, followed by a generous layer of the mascarpone cream. Repeat these layers until the cups are filled, finishing with the mascarpone cream on top.
-
Cover the cups with plastic wrap and refrigerate for at least 30 minutes. This allows all the flavors to meld beautifully, creating a truly delectable dessert experience.
-
Dust the tops of the cups with cocoa powder before serving. If you’d like, garnish them with chocolate shavings or coffee beans for that extra touch of elegance.
-
Serve chilled and enjoy the delightful layers of your Homemade Espresso Mascarpone Cups with family and friends!
Optional: Add a sprinkle of cinnamon for a warm spice twist.
Exact quantities are listed in the recipe card below.
Espresso Mascarpone Cups Variations
Feel free to transform these cups into your personalized masterpiece, enhancing both flavor and fun!
-
Dairy-Free: Use almond or coconut cream instead of heavy cream and opt for dairy-free mascarpone for a delicious alternative.
-
Chocolate Lovers: Incorporate dark chocolate shavings into the mascarpone mix for an extra chocolatey layer of delight.
-
Nutty Twist: Add crushed hazelnuts or walnuts between layers for a pleasing crunch and a touch of elegance.
-
Caramel Drizzle: Swirl salted caramel sauce in with the mascarpone mixture, creating a sweet contrast to the espresso.
-
Spice It Up: Mix a pinch of cinnamon or nutmeg into the mascarpone for a warm, inviting flavor that’s perfect for cozy nights.
-
Fruit Fusion: Top the cups with seasonal berries or a layer of banana slices for a refreshing burst of fruity goodness.
-
Vegan Version: Replace mascarpone with a blended cashew cream and use coconut milk as the heavy cream for a plant-based treat.
-
High-Octane: Add an espresso shot to the whipped cream for an intensified coffee kick that coffee aficionados will adore.
Make Ahead Options
These Espresso Mascarpone Cups are ideal for meal prep, saving you valuable time on busy days! You can prepare the entire mascarpone mixture and layer it in the cups up to 24 hours in advance. Just make sure to cover the cups tightly with plastic wrap to maintain their freshness and prevent any drying out. If you’d like to prep individual components, the espresso layer can be made and refrigerated for up to 3 days, while the ladyfinger cookies can be assembled right before serving to keep their delightful texture. When it’s time to enjoy, simply dust the tops with cocoa powder, garnish if desired, and serve chilled for a spectacular dessert that’s just as delicious as when freshly made!
What to Serve with Espresso Mascarpone Cups?
As you dive into the creamy delight of these cups, imagine rounding out your meal with equally tantalizing dishes.
-
Chocolate Mousse: A velvety chocolate mousse adds deep richness and enhances the dessert experience without overshadowing the coffee flavors.
-
Fresh Berries: The tartness of fresh strawberries or raspberries cuts through the creaminess, offering a refreshing balance that brightens each bite.
-
Savory Cheese Platter: Include a selection of aged cheeses to savor alongside the sweetness of the cups. The contrast creates an intriguing flavor journey.
-
Mini Fruit Tarts: Light and fruity tarts provide a crisp texture and brightness, which pairs harmoniously with the rich espresso layers.
-
Italian Biscotti: These crunchy delights double as a perfect dipper, echoing the espresso theme while adding a satisfying crunch.
-
Espresso Martini: For an adult twist, serve these cups with a frosty espresso martini. It compliments the dessert beautifully and carries that coffee essence forward.
Each pairing not only enhances the experience of your Espresso Mascarpone Cups but also transforms your meal into an unforgettable occasion. Enjoy the delightful journey!
How to Store and Freeze Espresso Mascarpone Cups
• Fridge: Store your Espresso Mascarpone Cups in the refrigerator, covered with plastic wrap, for up to 3 days. This keeps them fresh and maintains their creamy texture.
• Freezer: If you want to freeze them, freeze the assembled cups for up to 1 month. Wrap each cup tightly in plastic wrap and then in aluminum foil for extra protection.
• Thawing: To thaw, transfer the cups from the freezer to the fridge and allow them to defrost overnight. Avoid thawing them at room temperature to maintain the best texture.
• Reheating: These dessert cups are best enjoyed chilled and shouldn’t be reheated. Just give them a little time in the fridge to ensure they’re perfectly cool before serving.
Chef's Helpful Tips
- Ensure your brewed espresso is strong for the best flavor; this will elevate the taste of your Espresso Mascarpone Cups.
- When mixing in the sugar, taste as you go to ensure the sweetness is just right for your preference.
- Remember to whip the heavy cream until stiff peaks form, as this will provide the perfect texture to balance the rich mascarpone.
- Chill the cups for at least 30 minutes before serving to let the flavors meld together beautifully.
Espresso Mascarpone Cups Recipe FAQs
What type of espresso should I use for the Espresso Mascarpone Cups?
Absolutely! For the best flavor, I recommend brewing a strong espresso, ideally using a quality coffee bean. Look for a medium to dark roast, as it will provide a bold flavor that balances perfectly with the creamy mascarpone. If you don’t have an espresso machine, you can use a strong coffee brewed in another way, just ensure it’s potent enough to soak the ladyfingers.
How should I store leftover Espresso Mascarpone Cups?
Very! You can store your Espresso Mascarpone Cups in the refrigerator. Simply cover each cup with plastic wrap or transfer them to an airtight container to keep them fresh. They will stay delicious for up to 3 days. Make sure to keep them chilled until you’re ready to enjoy that creamy goodness again!
Can I freeze my Espresso Mascarpone Cups for later?
Certainly! Freezing is an excellent option if you want to prepare these cups ahead of time. Wrap each cup tightly in plastic wrap, followed by a layer of aluminum foil for added protection. You can freeze them for up to 1 month. Just remember to make sure the cups are well-sealed to prevent freezer burn!
How do I thaw frozen Espresso Mascarpone Cups properly?
For a delightful experience, transfer the wrapped cups from the freezer to the refrigerator and let them thaw overnight. This gradual thawing method is best to maintain the texture of the mascarpone and whipped cream. Avoid letting them sit out at room temperature, as this can lead to a soggy dessert.
Are there any dietary considerations I should keep in mind when making Espresso Mascarpone Cups?
Absolutely! If you’re serving them to guests, keep an eye out for allergies; mascarpone is a dairy product, which may not be suitable for lactose-intolerant individuals. You can also use dairy-free alternatives like coconut cream for those who prefer vegan-friendly options. If you’re using coffee liqueur, be sure to offer a non-alcoholic version for non-drinkers. Always good to check for those preferences!
What should I do if my whipped cream isn’t reaching stiff peaks?
Don’t worry, I’ve been there! If you find your whipped cream isn’t thickening, make sure your mixing bowl and beaters are cold; chilling them beforehand can help. If it’s still not forming peaks, ensure you’re using heavy cream (at least 36% fat). Whipping it slowly at first before increasing the speed can also help it come together. If it just refuses to thicken, it may be best to start over to achieve that perfect airy texture.
Equipment
- Mixing bowl
- Whisk
- Measuring cups
- Measuring spoons
- Plastic Wrap
Ingredients
For the Espresso Layer
- 1 cup strong brewed espresso Make sure to brew it strong for that rich base flavor.
- 2 tablespoons sugar Adjust to taste, depending on your sweetness preference.
- 1 tablespoon coffee liqueur Optional, adds an extra depth of flavor.
For the Cream Mixture
- 8 oz mascarpone cheese This gives the cups a smooth and creamy texture.
- 1 cup heavy cream Whip it until you achieve those lovely stiff peaks.
- 1/2 cup powdered sugar Sweetens the mascarpone cream, keeping it light and fluffy.
- 1 teaspoon vanilla extract Enhances the overall flavor profile beautifully.
For the Assembly
- ladyfinger cookies These delicate cookies soak up the espresso nicely.
- cocoa powder Dust on top for that classic coffee flavor and elegant finish.
- chocolate shavings or coffee beans Optional, use as a garnish for an extra touch of decadence.
Instructions
How to Make Espresso Mascarpone Cups
- Brew a cup of strong espresso and cool it down. Stir in sugar and the optional coffee liqueur until they dissolve completely.
- Mix the mascarpone cheese, powdered sugar, and vanilla extract in a mixing bowl. Blend until the mixture is smooth and creamy.
- Whip the heavy cream in a separate bowl until stiff peaks form.
- Fold the whipped cream gently into the mascarpone mixture.
- Layer the espresso mixture at the bottom of serving cups or glasses. Add a layer of ladyfinger pieces, followed by a generous layer of mascarpone cream. Repeat these layers until the cups are filled, finishing with the mascarpone cream on top.
- Cover the cups with plastic wrap and refrigerate for at least 30 minutes.
- Dust the tops of the cups with cocoa powder before serving. Garnish with chocolate shavings or coffee beans if desired.
- Serve chilled and enjoy your Homemade Espresso Mascarpone Cups!


