There’s a certain comfort that comes from baking, especially when creating something as delightful as Twix Thumbprint Cookies. The moment I slid these gems out of the oven, their warm, buttery scent mingling with the sweet aroma of melting chocolate, I was immediately transported back to my grandmother’s cozy kitchen. She always had a knack for turning simple ingredients into mouthwatering treats, and these cookies are a homage to those cherished memories.
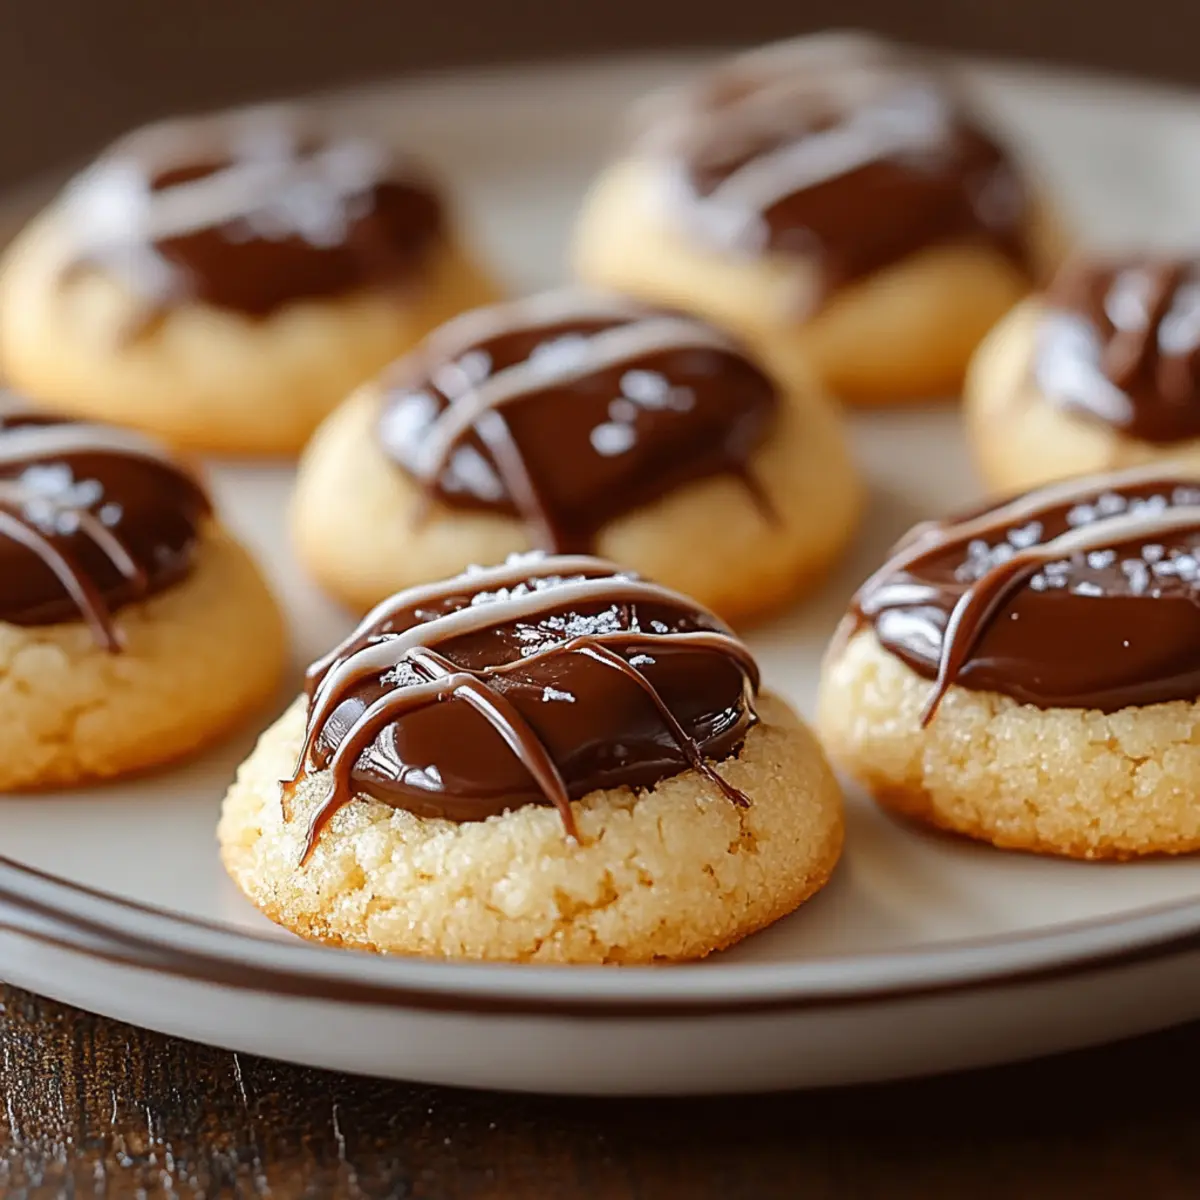
Imagine biting into a soft, chewy cookie that gives way to a luscious caramel surprise, all topped with a decadent drizzle of chocolate. It’s the perfect blend of flavors and textures, making these cookies a surefire crowd-pleaser at any gathering—or even just a lovely indulgence for yourself after a long day. Best of all? With just 30 minutes from start to finish, you can whip these up quickly, leaving plenty of time to savor the sweet rewards. So grab your apron, and let’s dive into the delicious world of Twix Thumbprint Cookies!
Why You'll Love This Twix Thumbprint Cookies
- These Twix Thumbprint Cookies are incredibly easy to make, allowing you to satisfy your sweet tooth in no time.
- The unique combination of soft cookie, gooey caramel, and rich chocolate delivers an explosion of flavor in every bite.
- Their stunning visual appeal makes them perfect for impressing guests at any gathering, ensuring they’ll be a hit at parties or family events.
- Plus, with a total time of just 30 minutes, you can enjoy these delicious treats without spending hours in the kitchen.
Twix Thumbprint Cookies Ingredients
• Dive into the delightful flavors with these essential ingredients!
For the Cookie Base
- Unsalted butter – soften it well for a smooth, creamy texture.
- Granulated sugar – this will sweeten the dough and help with that lovely crunch.
- Brown sugar – adds moisture and a hint of caramel flavor to your cookies.
- Large eggs – binds the ingredients together; bring them to room temperature for better mixing.
- Vanilla extract – a splash of this magical ingredient enhances the overall flavor.
- All-purpose flour – gives the cookies structure; avoid over-mixing for soft texture.
- Baking powder – allows the cookies to rise perfectly, creating that ideal chewy center.
- Salt – a small amount balances the sweetness and enhances flavors.
For the Filling and Topping
- Caramel sauce – use store-bought or homemade for a gooey center that captures the essence of Twix.
- Chocolate chips – melt these to create a luscious drizzle over the top for that indulgent finish.
How to Make Twix Thumbprint Cookies
-
Preheat your oven to 350°F (175°C) and prepare your baking sheet by lining it with parchment paper. This ensures your cookies bake evenly and don’t stick.
-
Cream together the softened unsalted butter, granulated sugar, and brown sugar in a large mixing bowl. Beat until the mixture is light and fluffy, about 2-3 minutes—this is where the magic begins!
-
Add the large eggs into the butter mixture, one by one, ensuring each is fully incorporated before the next. Stir in the vanilla extract for that delightful aroma and flavor.
-
Whisk together the all-purpose flour, baking powder, and salt in a separate bowl. This helps to evenly distribute the leavening agent and avoid clumping in your dough.
-
Combine the dry ingredients with the wet mixture gradually. Stir gently until just combined—don’t over-mix, or your cookies might turn out tough!
-
Scoop tablespoon-sized portions of dough and roll them into balls with your hands. Place these on the prepared baking sheet, leaving about 2 inches between each one for spreading.
-
Indent the cookie balls using your thumb or the back of a spoon, creating a cozy little well in the center. This is where the caramel goodness will go!
-
Bake in the preheated oven for 12-15 minutes, or until the edges of the cookies are lightly golden. Remove them and allow to cool for a few minutes on the baking sheet.
-
Fill each thumbprint with warm caramel sauce, allowing it to settle and fill the indentation beautifully.
-
Melt the chocolate chips in a microwave-safe bowl in 30-second intervals, stirring in between until smooth and velvety.
-
Drizzle the melted chocolate over the filled cookies using either a fork or a piping bag for a beautiful finish; let it set for a moment before serving.
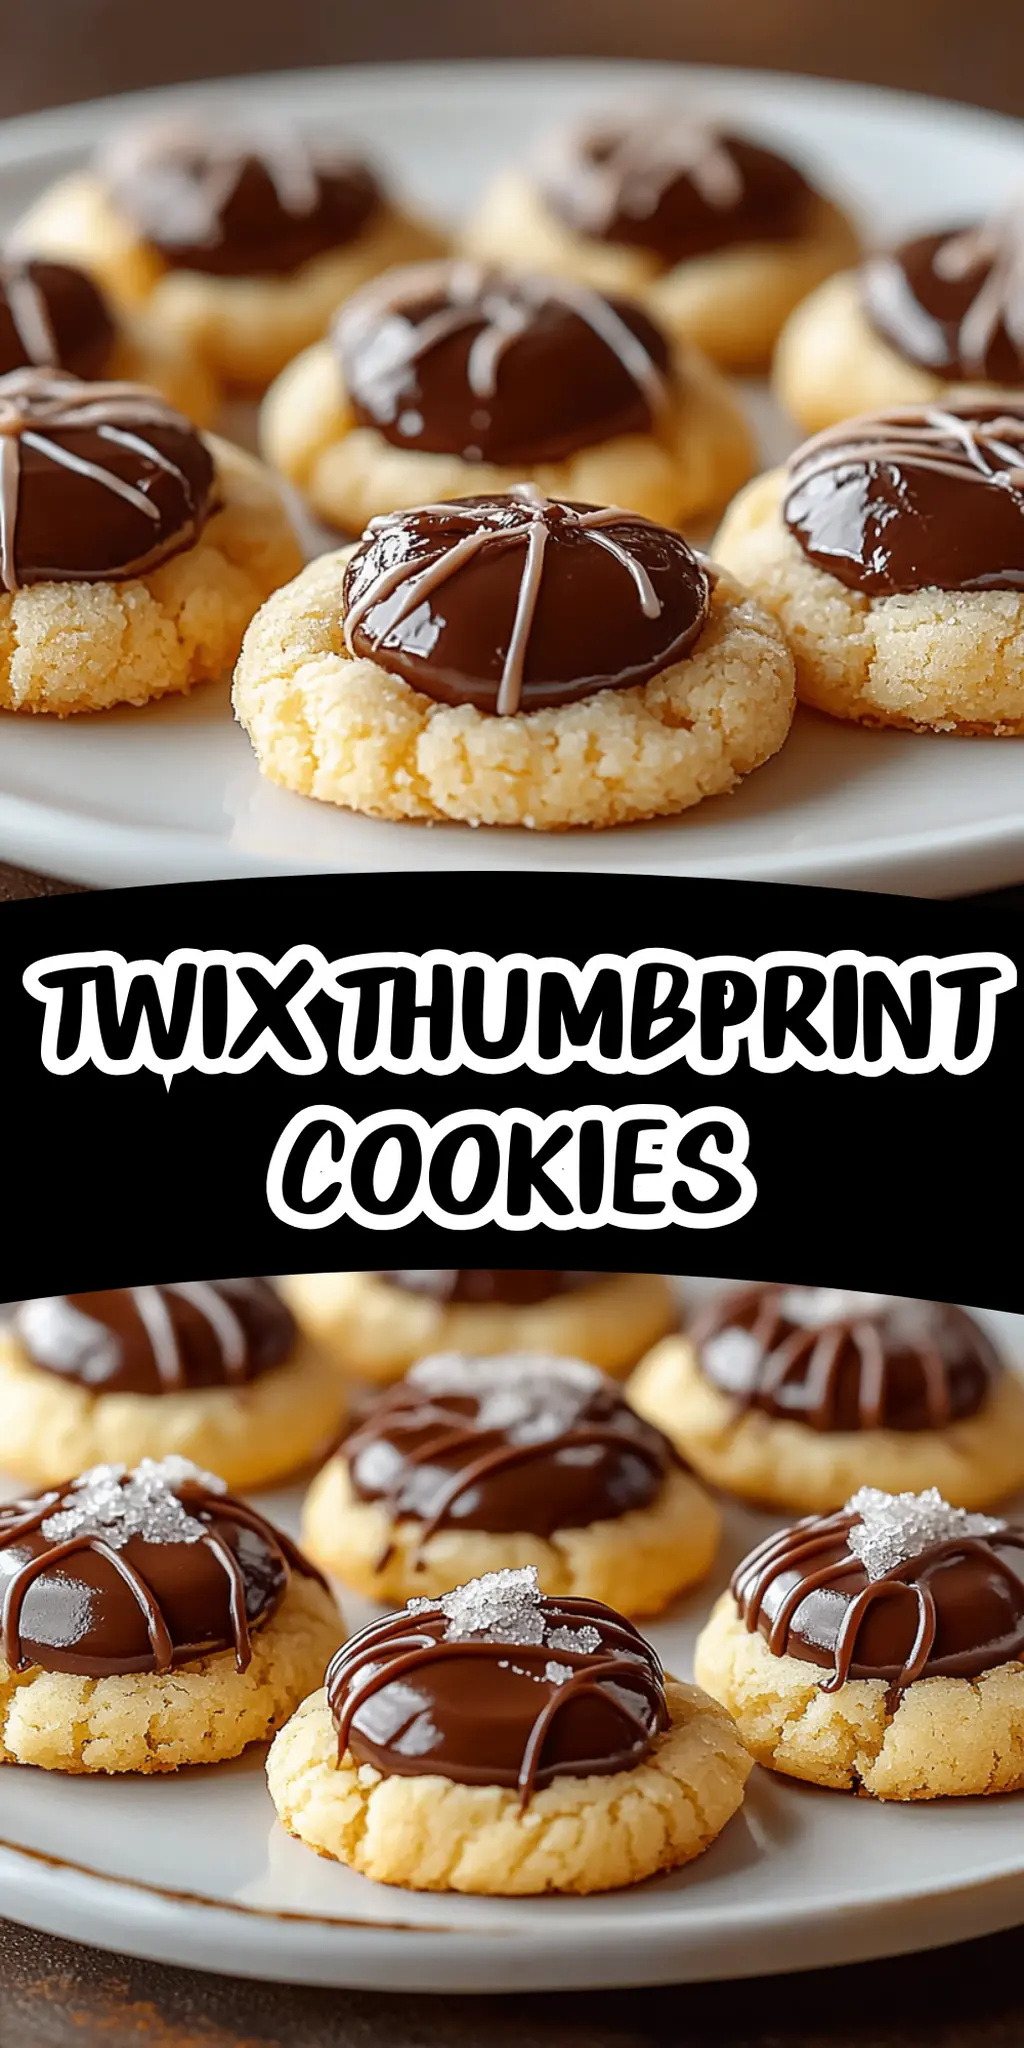
Optional: Sprinkle flaky sea salt on top for an extra flavor boost!
Exact quantities are listed in the recipe card below.
Twix Thumbprint Cookies Variations
Feel free to make these cookies your own with these fun twists and substitutions!
-
Gluten-Free: Substitute all-purpose flour with a 1:1 gluten-free baking blend for delicious results.
-
Nutty Crunch: Add 1/2 cup of chopped pecans or walnuts into the dough for a delightful crunch and extra flavor.
-
Spicy Kick: Mix in a teaspoon of cinnamon or a pinch of cayenne pepper to the dough for a warming spice that surprises.
-
Caramel Variety: Experiment with different types of caramel sauces, like sea salt caramel or chocolate caramel, for unique flavor profiles.
-
Dark Chocolate: Swap in dark chocolate chips for a richer chocolate experience that pairs beautifully with caramel.
-
Dairy-Free: Use coconut oil instead of butter and dairy-free chocolate chips for a tasty vegan-friendly option.
-
Chewy Boost: Fold in a cup of oats into the dough for added texture and chewiness that enhances every bite.
-
Flavor Infusion: Incorporate a teaspoon of almond or orange extract for a fragrant twist that elevates the overall flavor of the cookies.
What to Serve with Twix Thumbprint Cookies?
Step into a world of sweetness where these delightful cookies can shine in a cozy dessert spread or festive gathering.
-
Vanilla Ice Cream: The creamy, cold texture beautifully balances the warmth of the cookies, creating a delicious contrast that melts in your mouth. Serve a scoop alongside for a classic twist.
-
Coffee: A rich, aromatic cup of coffee elevates the chocolate and caramel flavors, making each bite even more satisfying. It’s an inviting duo that awakens the senses!
-
Fresh Berries: Slices of juicy strawberries or raspberries add a burst of freshness to your dessert table, allowing for a delightful play of flavors and textures next to the sweet cookies.
-
Hot Chocolate: This indulgent drink complements the dessert’s sweetness while enhancing the cozy atmosphere. Top with whipped cream and mini marshmallows for added charm!
-
Salted Caramel Sauce: Drizzle a little extra caramel sauce on top of the cookies for an indulgent touch. The saltiness enhances the sweetness, making it a truly decadent treat.
-
Chocolate Milk: A classic pairing, chocolate milk adds nostalgic joy and takes the experience back to childhood. It’s great for all ages, making dessert time feel special.
-
Nutty Brownies: For a chocolate lover’s dream, serve alongside rich, fudgy brownies. The combination of different chocolate textures creates an irresistible dessert platter.
-
Mint Chocolate Chip Cookies: Offer a refreshing twist by including mint-flavored cookies. The mint coolness contrasts with the warm caramel, surprising and delighting those who indulge.
Indulge in these pairings and let the Twix Thumbprint Cookies steal the show!
Make Ahead Options
These Twix Thumbprint Cookies are perfect for meal prep! You can prepare the cookie dough up to 24 hours in advance; simply cover it tightly and refrigerate. When you’re ready to bake, scoop the chilled dough onto a baking sheet and create the indentations just before baking. Additionally, you can fill the cookies with caramel and drizzle with melted chocolate up to 3 days ahead. Store them in an airtight container to keep them fresh and delicious. When it’s time to enjoy these scrumptious cookies, just let them warm slightly at room temperature, and they will taste just as delightful as when fresh out of the oven!
How to Store and Freeze Twix Thumbprint Cookies
Room Temperature: Store the cookies in an airtight container at room temperature for up to 3 days. This keeps them fresh and chewy, perfect for snacking!
Fridge: If you prefer your cookies chilled, they can be kept in the fridge for up to 7 days. Be sure to place them in an airtight container to maintain their softness.
Freezer: For longer storage, freeze the cookies in a single layer on a baking sheet before transferring them to a freezer-safe bag. They can be frozen for up to 3 months.
Reheating: To enjoy them warm, simply thaw at room temperature and reheat in the microwave for about 10-15 seconds, or until just warmed through.
Chef's Helpful Tips
- When making Twix Thumbprint Cookies, ensure your butter is softened to room temperature for easy creaming, which helps achieve a light, fluffy texture.
- Avoid over-mixing the dough after adding the dry ingredients, as this can lead to tough cookies.
- For the perfect cookie indentation, use your thumb gently to create a deep enough well without breaking the cookie.
- Remember to bake at 350°F for 12-15 minutes, and allow the cookies to cool slightly before filling them with caramel for the best results.
Twix Thumbprint Cookies Recipe FAQs
What type of butter should I use for Twix Thumbprint Cookies?
Absolutely! I recommend using unsalted butter, as it gives you complete control over the saltiness of your cookies. Softening the butter to room temperature helps achieve that light and fluffy texture when creamed with sugar.
How should I store Twix Thumbprint Cookies?
You can store them in an airtight container at room temperature for up to 3 days to keep them fresh and chewy. For a chilled treat, keep them in the fridge for up to 7 days. Just remember, using an airtight container is key to retaining their softness!
Can I freeze Twix Thumbprint Cookies?
Yes, indeed! To freeze them, place the cookies in a single layer on a baking sheet for about 1-2 hours until they’re firm, then transfer them to a freezer-safe bag. They can be stored in the freezer for up to 3 months. When you’re ready to enjoy, just take them out and let them thaw at room temperature.
How can I fix cookies that spread too much while baking?
If your Twix Thumbprint Cookies spread excessively, it might be due to the butter being too warm or insufficient flour. To fix this, place the cookie dough in the fridge for about 30 minutes before baking; this helps firm up the dough. Also, make sure to measure your flour accurately—spoon it into the measuring cup rather than scooping directly from the bag!
Are these cookies safe for pets or those with allergies?
While Twix Thumbprint Cookies are a sweet delight for humans, keep them away from pets, as ingredients like chocolate can be toxic to dogs and cats. If you have allergy concerns, always double-check the labels of your ingredients, especially chocolate chips for any nut contents.
How can I enhance the flavor of the caramel filling?
For an extra flavor kick, try adding a pinch of sea salt to your caramel sauce or consider using flavored caramel, like sea salt caramel, for an indulgent twist. You could also experiment with a splash of coffee or vanilla extract into the caramel sauce before filling the cookies, which adds a lovely depth to the flavor!
Equipment
- Oven
- Mixing bowl
- Baking Sheet
- Parchment paper
- Microwave-safe bowl
Ingredients
For the Cookie Base
- 1 cup Unsalted butter softened
- 1 cup Granulated sugar
- 1/2 cup Brown sugar
- 2 large Large eggs room temperature
- 1 teaspoon Vanilla extract
- 2 1/4 cups All-purpose flour
- 1 teaspoon Baking powder
- 1/2 teaspoon Salt
For the Filling and Topping
- 1 cup Caramel sauce store-bought or homemade
- 1 cup Chocolate chips
Instructions
How to Make Twix Thumbprint Cookies
- Preheat your oven to 350°F (175°C) and prepare your baking sheet by lining it with parchment paper.
- Cream together the softened unsalted butter, granulated sugar, and brown sugar in a large mixing bowl.
- Add the large eggs into the butter mixture, one by one, ensuring each is fully incorporated before the next. Stir in the vanilla extract.
- Whisk together the all-purpose flour, baking powder, and salt in a separate bowl.
- Combine the dry ingredients with the wet mixture gradually. Stir gently until just combined.
- Scoop tablespoon-sized portions of dough and roll them into balls. Place these on the prepared baking sheet, leaving about 2 inches between each one.
- Indent the cookie balls using your thumb, creating a well in the center.
- Bake in the preheated oven for 12-15 minutes, or until the edges are lightly golden.
- Fill each thumbprint with warm caramel sauce.
- Melt the chocolate chips in a microwave-safe bowl in 30-second intervals, stirring in between until smooth.
- Drizzle the melted chocolate over the filled cookies and let it set before serving.